LinuxPizza

linux

Took myself ages to figure this out, so I am noting this down for my future self. Just a note – this is not the indented workflow, but rather a “getting started with kubernetes” step.

First, we need to add NFS as a storage class:

apiVersion: storage.k8s.io/v1
kind: StorageClass
metadata:
  name: managed-nfs-storage
provisioner: k8s-sigs.io/nfs-subdir-external-provisioner # or choose another name, must match deployment's env PROVISIONER_NAME'
parameters:
  archiveOnDelete: "false"

Then, we can add the actual storage:

kind: PersistentVolume
apiVersion: v1
metadata:
  name: nfs-persistentvolume
spec:
  capacity:
    storage: 1Gi
  accessModes:
    - ReadWriteMany
  storageClassName: "nfs" # Empty string must be explicitly set otherwise default StorageClass will be set / or custom storageClassName name
  nfs:
    path: "/path/to/share"
    server: "xxx.xxx.xxx.xxx"
    readOnly: false
  claimRef:
    name: nfs-persistentvolumeclaim
    namespace: default
---
apiVersion: v1
kind: PersistentVolumeClaim
metadata:
  name: nfs-persistentvolumeclaim
  namespace: default
spec:
  accessModes:
    - ReadWriteMany
  resources:
    requests:
      storage: 1Gi
  storageClassName: "nfs" # Empty string must be explicitly set otherwise default StorageClass will be set / or custom storageClassName name
  volumeName: nfs-persistentvolume

Hope this helps

Bonus – run a Minecraft Bedrock inside K8S using your newly created PVC as storage

apiVersion: apps/v1
kind: Deployment
metadata:
  name: mc-bedrock
  labels:
    app: mc-bedrock
spec:
  replicas: 1
  template:
    metadata:
      name: mc-bedrock
      labels:
        app: mc-bedrock
    spec:
      containers:
        - name: mc-bedrock
          image: itzg/minecraft-bedrock-server
          imagePullPolicy: Always
          resources:
            requests:
              cpu: 500m
              memory: 4Gi
          env:
            - name: EULA
              value: "TRUE"
            - name: GAMEMODE
              value: survival
            - name: DIFFICULTY
              value: normal
            - name: WHITE_LIST
              value: "false"
            - name: ONLINE_MODE
              value: "true"
            - name: ALLOW_CHEATS
              value: "true"
          volumeMounts:
            - mountPath: /data
              name: data
      volumes:
        - name: data
          persistentVolumeClaim:
            claimName: nfs-persistentvolumeclaim
  selector:
    matchLabels:
      app: mc-bedrock
---
apiVersion: v1
kind: Service
metadata:
  name: mc-bedrock
  labels:
    app: mc-bedrock
spec:
  selector:
    app: mc-bedrock
  ports:
    - port: 19132
      protocol: UDP
  type: LoadBalancer

Get the IP assigned for the service

kubectl get service mc-bedrock -o jsonpath='{.status.loadBalancer.ingress[0].ip}'

Restart the pods in the deployment

kubectl logs -f deployment/mc-bedrock

#linux #k8s #kubernetes #pvc #pv #minecraft

The first time I heard about the PineBook Pro was the spring of 2019, when Pine64 posted their may update which contained information about the PineBook Pro.

I have been able to try out the original PineBook, since one of my previous colleague did get one. She claimed it was a good buy and that she liked the machine. Well, considering that it only cost $99 – I think there is no real reason to think otherwhise!

However, fast forward to March 2020. My own ThinkPad Helix broke down on me and I was suddenly without a laptop. That meant that I longer could travel while I was “on call” at work because I no longer could remote in to work when I needed to. I also had no place to store my stupid collection of webm's either. Also, I was not willing to spend to much on a machine – so I had two options: – Get an used Librebooted ThinkPad – Get the PineBook Pro

The choice finally fell on the PineBook Pro, because I have started to get an urge to start using non-x86 machines as my daily drivers, such as the PineBook Pro and the Blackbird POWER9 Desktop from Raptor Computing. I've always been weak for stuff that is not used by to many people, like a specific car model with a specific color (like my old Mazda 3 2010 with the “Celestial Blue” color) or just plain Motorola Phones (not at all popular in Sweden). That was the reason I started with Linux back in 2001, because Windows was everywhere and I wanted to be different – lol.

I placed the order on the 3th of April 2020, of the PineBook Pro together with some other essential stuff like: – PineBook Pro itself – USB-Barrel connector for charging – PCI-E to M.2 adapter – USB-UART(serial)

I did forget the USB eMMC reader, but that is something I could get a hold of via a local shop.

Finally, on June the 1st. I got the notification that the order has been shipped from Hong Kong. Pine64 has been very clear that there will be delay thanks to the current pandemic going on, and that is understandable.

Delivery

I got the order delivered to my work on June the 4th, since I spend my days there and not at home. Here is what the package looked like: package

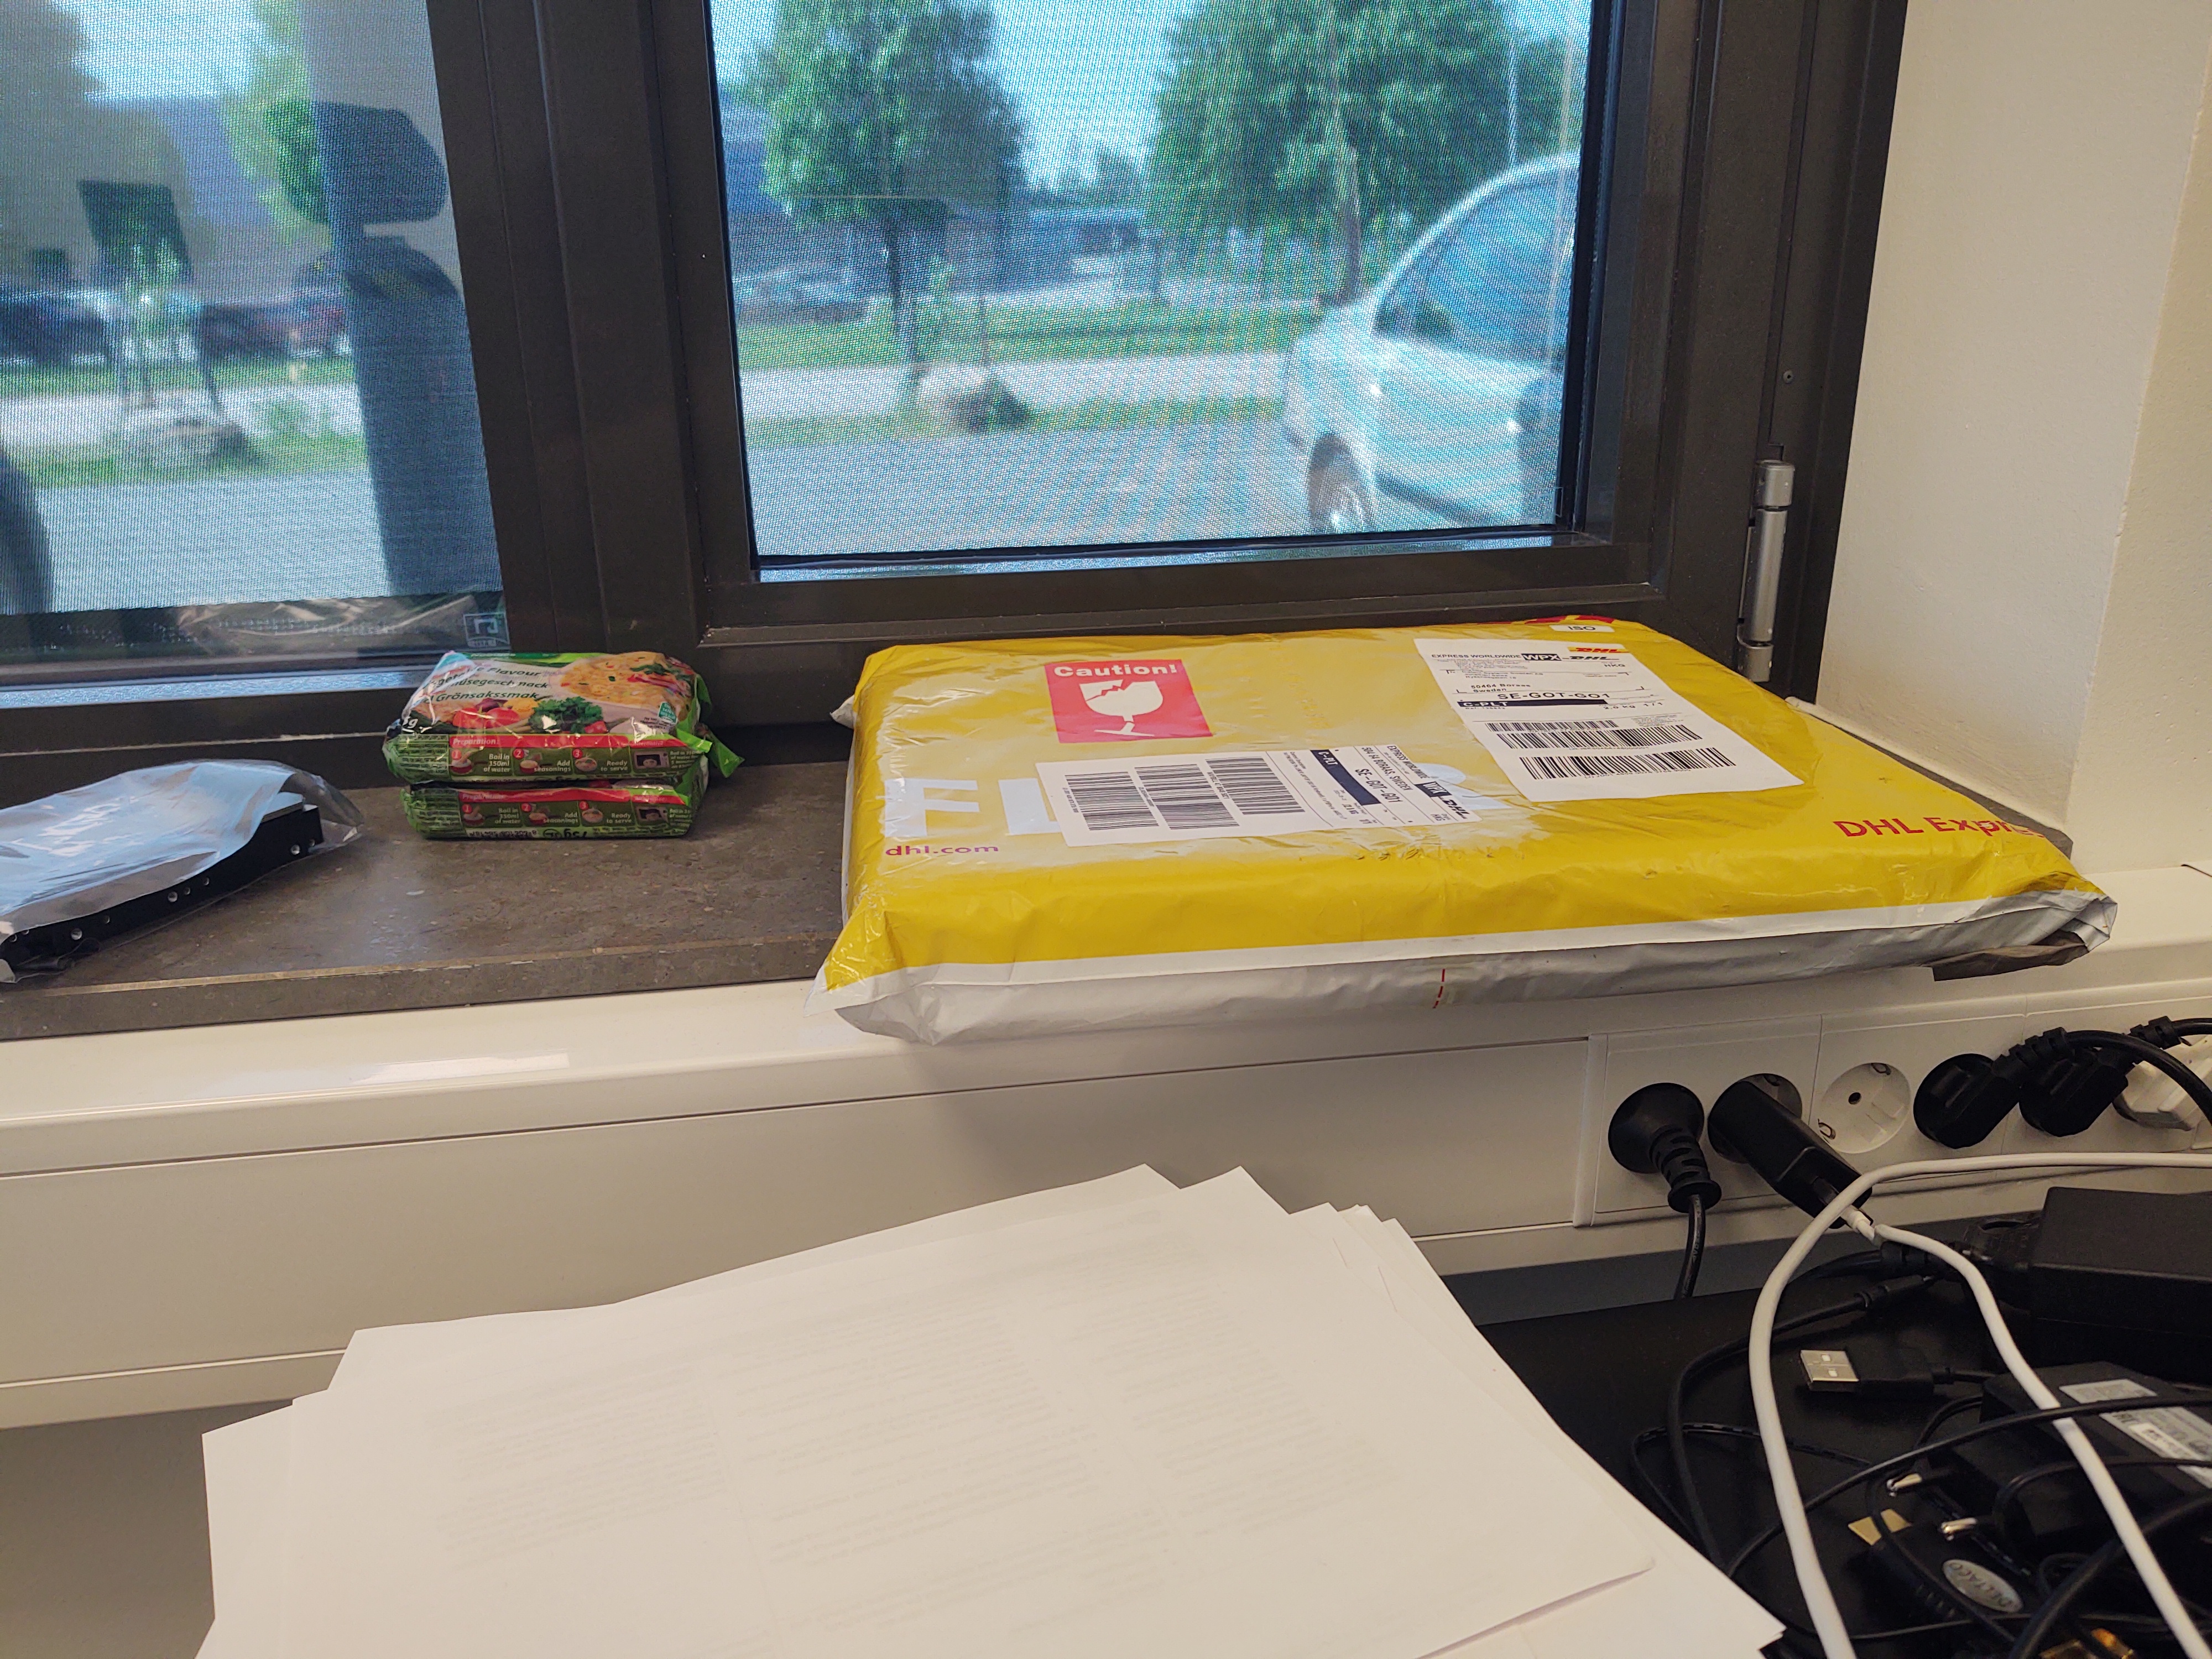
(yes yes, that's my lunch)

Unboxing and first impression

I waited to open the package until I came home, since I wanted to show you how the packaging looks like and what you as a possible future customer to Pine64 can expect with some good music that have a high chance of making you feel nostalgics: Note: The embedded video is broken in some browsers, feel free to check out the video here.

The Pinebook Pro looks slick, feel sturdy and does not flex that much you would expect from a $200 laptop. The rest of Day 1 was spent on trying to like Manjaro as a system. Manjaro works very well on the Pinebook Pro – it is snappy and looks great on it. If you are buying the Pinebook just as a “browser + ssh” machine (as someone on fedi called it) – I would recommend with sticking with Manjaro that is delivered with the Pinebook Pro.

Day 2, Bye Manjaro – Hi Debian

I am not a fan of Manjaro, and trust me – I have really tried to like it! My personal feeling is that Manjaro is messy – but that is probably because I do not like Arch Linux at all. Anyway, I was thinking about switching over to Debian instead since I am more used to it and the image has come a long way since the first version. I flashed a MicroSD card with this Debian image, booted it and downloaded this scripts that installs Debian for you on the eMMC card. The installation took 15-20 minutes for me since I am blessed with a fast and stable internet connection. I did have trouble getting into the Desktop Environment on Bullseye (Testing), so I installed Debian Buster instead and that seems to have solved it. And I am want to use it as a daily driver so a stable system is not wrong :)

Day 3, why the (“%¤ does it take a day to charge the Pinebook?

One thing that has started to bother me, is the battery take several hours to fully charge from zero. I have given that alot of thoughts and I think the reason is that I have become used to fast-charging that exist in most modern smartphones today. The VERY BIG PLUS, is that you can charge it several way's. You can use the official ROCKPRO PSU (the one that is stuck in my outlet), you can use a USB to “power” adapter, and you can also charge it with USB-C. The latter one is a HUGE advantage and one of the biggest “cool factor” in the Pinebook. That means that I can charge the Pinebook on the go. With an ordinary Powerbank, in my car or at someone elses house even if I forgot my own PSU.

What do I like/dislike?

The keyboard

After a few days of typing on the machine, I have come to like the keyboard of it. It does not feel bad at all. Since it is a ISO keyboard with a physical UK layout, I can use it with a Swedish layout in Debian. Luckily, I am very used to typing so I am not noticing that the physical layout is different since I dont look at the keyboard when I type. Writing this blogpost feels great too!

Headphone jack?

I started to watch a movie on the Pinebook with my headphones that I just plugged into the headphone jack, and suddenly all my kids came up to me and wondered what I was looking at so I took my headphones of and realized that the sounds was playing on the speakers and my headphone at the same time. I do realize that this is probably something that Debian Buster has issues with. I connected my Bluetooth headset instead and could watch in peace.

Charging takes many hours

I wrote about that earlier, but it is worth mentioning here too. Charging the PineBook Pro does take a very long time. I have tested the charger that arrives with the machine and other supposedly “stronger” USB-chargers aswell. I think that the reason is that I have gotten used to Fast-Charging my phone and the ability to wait is something that we have lost the last few years. Anyway, the battery last 7-9 hours with normal use on Debian Buster with maximum screen brightness and “tilda” running in fullscreen with tmux with a couple of ssh-sessions – perfectly fine! Remember that you can charge it practically anywhere with almost any USB-charger whether it is a wall-plugged one, solar-driven or other powerbanks. That fact makes this machine very portable and flexible. Perfect for the trip!

Closing words

I can compress my experience to this sentence: The more I use the PineBook Pro – The more I realize that THIS is the laptop I always wanted!

Wow, that's is pretty big words! I will try to explain why. First of all – The Pinebook Pro is the result of the hard work of the team over at Pine64. The machine have been made “as a community service” to provide a cheap, hackable and fun laptop to hackers, advanced users and pioneers on the AARCH64 platform. I really get the feeling that there is no greed for revenue unlike other companies – that is worth supporting!

The machine is not made for with planned obsolesce – the scary and sad trend that is going on with Tech-companies nowadays. You can buy every single part of this machine from the Pine64 shop so you can repair it if you need to.

The community is great! I have been hanging out in the Pinebook Pro chat on Matrix and the folks over there is very helpful and exited over the product that Pine64 has released.

Atlast, I think most of the Pinebook Pro users would love to use Manjaro ARM that is by default shipped with the machine. Manjaro has done a great job on increasing performance and stability of the builds and it does not seems to stop! I will cover more aspects of the Pinebook Pro in the future, like Multimedia performance such as video-playback, simple gaming, USB-C docking capabilites and Installation of the M2 drive.

#linux #arm #pinebook #pine64 #debian

As a MTA lover, I always try to encourage people (especially “IT-people”) to host their own mailserver. Mostly so they actually can learn something and also that I do not like how the big providers like Google, Microsoft, Amazon etc keep eating up the market. Diversity is a key to a healthy market – but that is another topic.

This guide will mostly apply to Debian-based distros like Debian (9 or newer), Ubuntu (16.04 or newer) or any other “serverdistro”. I do assume that you already have a working mailserver that do both deliver and receive emails that are DKIM signed (or atleast perform validation with OpenDKIM), otherwhise you can read my short guide here (coming soon).

First, install OpenDMARC from the repository.

apt update
apt install opendmarc -y

Verify that the user and group opendmarc has been created by checking /etc/passwd and /etc/group. Otherwhise, create them. When you have installed it, verify the installation by running this:

opendmarc -V

You will get something like this (the version number is not that important yet):

opendmarc: OpenDMARC Filter v1.3.2       
    SMFI_VERSION 0x1000001       
    libmilter version 1.0.1       
    Active code options:               
    WITH_SPF               
    WITH_SPF2

Great! Let's proceed to configuring opendmarc First, take a backup of the current opendmarc.conf, it will save some headache in the future if you want to redo it:

cp /etc/opendmarc.conf /etc/opendmarc.conf.BAK

Edit /etc/opendmarc.conf with the following:

AuthservID [SERVERHOSTNAME]
FailureReports true
PidFile /var/run/opendmarc.pid
RejectFailures false
SPFSelfValidate yes
Socket inet:8893@localhost
SoftwareHeader true
Syslog true
SyslogFacility mail
TrustedAuthservIDs [SERVERHOSTNAME]
HistoryFile /var/run/opendmarc/opendmarc.dat
UMask 0002
UserID opendmarc

Dont forget to restart opendmarc

service opendmarc restart 

Proceed with adding opendmarc as a milter in postfix. I am assuming that you already have opendkim enabled as a milter like this:

smtpd_milters = inet:localhost:8891
non_smtpd_milters = inet:localhost:8891

We now need to add the opendmarc milter into the postfix configuration, it is important that you add it AFTER the opendkim milter, otherwhise opendmarc will not be able to check if the DKIM key is valid.

smtpd_milters = inet:localhost:8891,inet:localhost:8893
non_smtpd_milters = inet:localhost:8891,inet:localhost:8893
milter_default_action = accept

The last one is pretty important, so if one of your milters does not work for some reason – Postfix will still let it throu. Restart postfix

service postfix restart

We should now be able to test the configuration by sending an email from example a gmail.com account to an email address on your email-server and check your logs if opendmarc actually works.

tail -f /var/log/mail.log | grep "opendmarc"

You should be able to see this:

Apr 26 12:16:38 mx opendmarc[31490]: 5155751C32: SPF(mailfrom): dmarctest@linux.pizza pass
Apr 26 12:16:39 mx opendmarc[31490]: 5155751C32: linux.pizza pass

Great! Your server does now validate DMARC policies! If you just wanted this basic functionality, you are done now. But there is always room for improvement!

Adding a Public-suffix list

This can be achieved in the following simple steps: Create a catalogue (and change ownership) for the list to be downloaded to:

mkdir -p /etc/opendmarc/
chown opendmarc: /etc/opendmarc

Set up a cronjob to download the suffix list once a week

crontab -u opendmarc -e

And this line:

@weekly/usr/bin/wget -k -q -N -P /etc/opendmarc https://publicsuffix.org/list/effective_tld_names.dat

Also, just download the list so you have it before you configure opendmarc to use it:

wget -k -q -N -P /etc/opendmarc https://publicsuffix.org/list/effective_tld_names.dat 

Finally, configure opendmarc to actually use that list, put this on the bottom in /etc/opendmarc.conf and restart opendmarc

PublicSuffixList /etc/opendmarc/effective_tld_names.dat
service opendmarc restart 

Awesome! You are now done with the OpenDMARC. Next up – adding DMARC reporting, this will be in an upcoming post.

#postfix #dmarc #opendmarc #smtp #email #linux

During my short IT-career, I have dealt with alot people who struggle with generating a .csr file (certificate signing request) on Linux. Windows (especially IIS) have a more clearer approach so that can most of the people figure out by themselves without having to ask to many questions :)

The following example generates a .csr and a .key file for the Company “Company Name”, located in some country in the city “City”. Just replace the variables to your liking.

DOMAIN=www.example.com
COUNTRY=2 letter country code
ORG="Company Name"
CITY="City"
STATE="State"
EMAIL="youremail@example.com"

openssl req -utf8 -nameopt multiline,utf8 -new -newkey rsa:2048 -nodes -sha256 -out $DOMAIN.csr -keyout $DOMAIN.key -subj "/C=${COUNTRY}/ST=${STATE}/L=${CITY}/O=${ORG}/OU=IT/CN=$DOMAIN/emailAddress=${EMAIL}"

Sometimes, you do want to generare a .csr file that includes two or more domains – a SAN certificate. Using the same variable as above, we can now add more CN's to the .csr:

openssl req -utf8 -nameopt multiline,utf8 -new -newkey rsa:2048 -nodes -sha256 -out $DOMAIN.csr -keyout $DOMAIN.key -subj "/C=${COUNTRY}/ST=${STATE}/L=${CITY}/O=${ORG}/OU=IT/CN=$DOMAIN/emailAddress=webmaster@example.com" -config <(
cat <<-EOF
[req]
default_bits = 2048
default_md = sha256
req_extensions = req_ext
distinguished_name = dn
[ dn ]
[ req_ext ]
subjectAltName = @alt_names
[alt_names]
DNS.1 = www.example.se
DNS.2 = example.se
DNS.3 = www.example.it
DNS.3 = example.it
DNS.3 = www.example.fi
DNS.3 = example.fi
DNS.3 = www.example.org
DNS.3 = example.org
EOF
)

Lets simplify this even more, with a script!

Running this script, will prompt you with a small dialog that ask you for the domain-name you want a .csr file for. It creates the .key and .csr, and prints out the .csr in the termina

#!/bin/bash
echo -n "Please enter the full Common Name (CN)"
read DOMAIN

COUNTRY=SE
ORG="Company"
CITY="City"
STATE="State"
EMAIL="admin@domain.tld"

openssl req -utf8 -nameopt multiline,utf8 -new -newkey rsa:2048 -nodes -sha256 -out $DOMAIN.csr -keyout $DOMAIN.key -subj "/C=${COUNTRY}/ST=${STATE}/L=${CITY}/O=${ORG}/OU=IT/CN=$DOMAIN/emailAddress=$EMAIL" -config <(
cat <<-EOF
[req]
default_bits = 2048
default_md = sha256
req_extensions = req_ext
distinguished_name = dn
[ dn ]
[ req_ext ]
subjectAltName = @alt_names
[alt_names]
DNS.1 = $DOMAIN
EOF
)

echo "private key and certificate request created"
cat $DOMAIN.csr
exit 0 

I hope this can prevent some headache for one or two :)

#linux #openssl #csr #ssl #tls #certificate