And also moved over to a tiling windows manager
And you are maybe asking – why?
I once bought a keyboard together with my brother for 20 years ago, we saved our money to buy it and we did! Sadly, I do not remember the model or the brand of the keyboard – but atleast I know what it looks like!
That was the ONLY keyboard I have ever bought, the rest is just from “piles of trash” mean for recycling.
About 7 years ago, I joined a random mumble channel and out of the blue we started to talk about keyboards. I've always used crappy keyboards in my life (those you find in school, libraries etc) and I did not know anything else.
I threw me back in time to when PC's where much more simpler, a time where the 5 year old me spend in front of Windows 95 and the typical 90's white colored PC, keyboard, mouse, speaker and screen. That color does reminds me of times when I did not understand the world and therefore the world was a much nicer place, for me atleast.
They keyboards where immediately thrown on my wishlist. And I dreamt of the day I could get one. I did not buy it for another 7 years – not because I did not want any, but that I instead prioritized real life stuff instead.
But finally, I did buy it. And after 10 days of waiting for it to ship from Lexington, Kentucky (US) to me here in Sweden I did get it delivered to my work. And I was the only one that was excited!
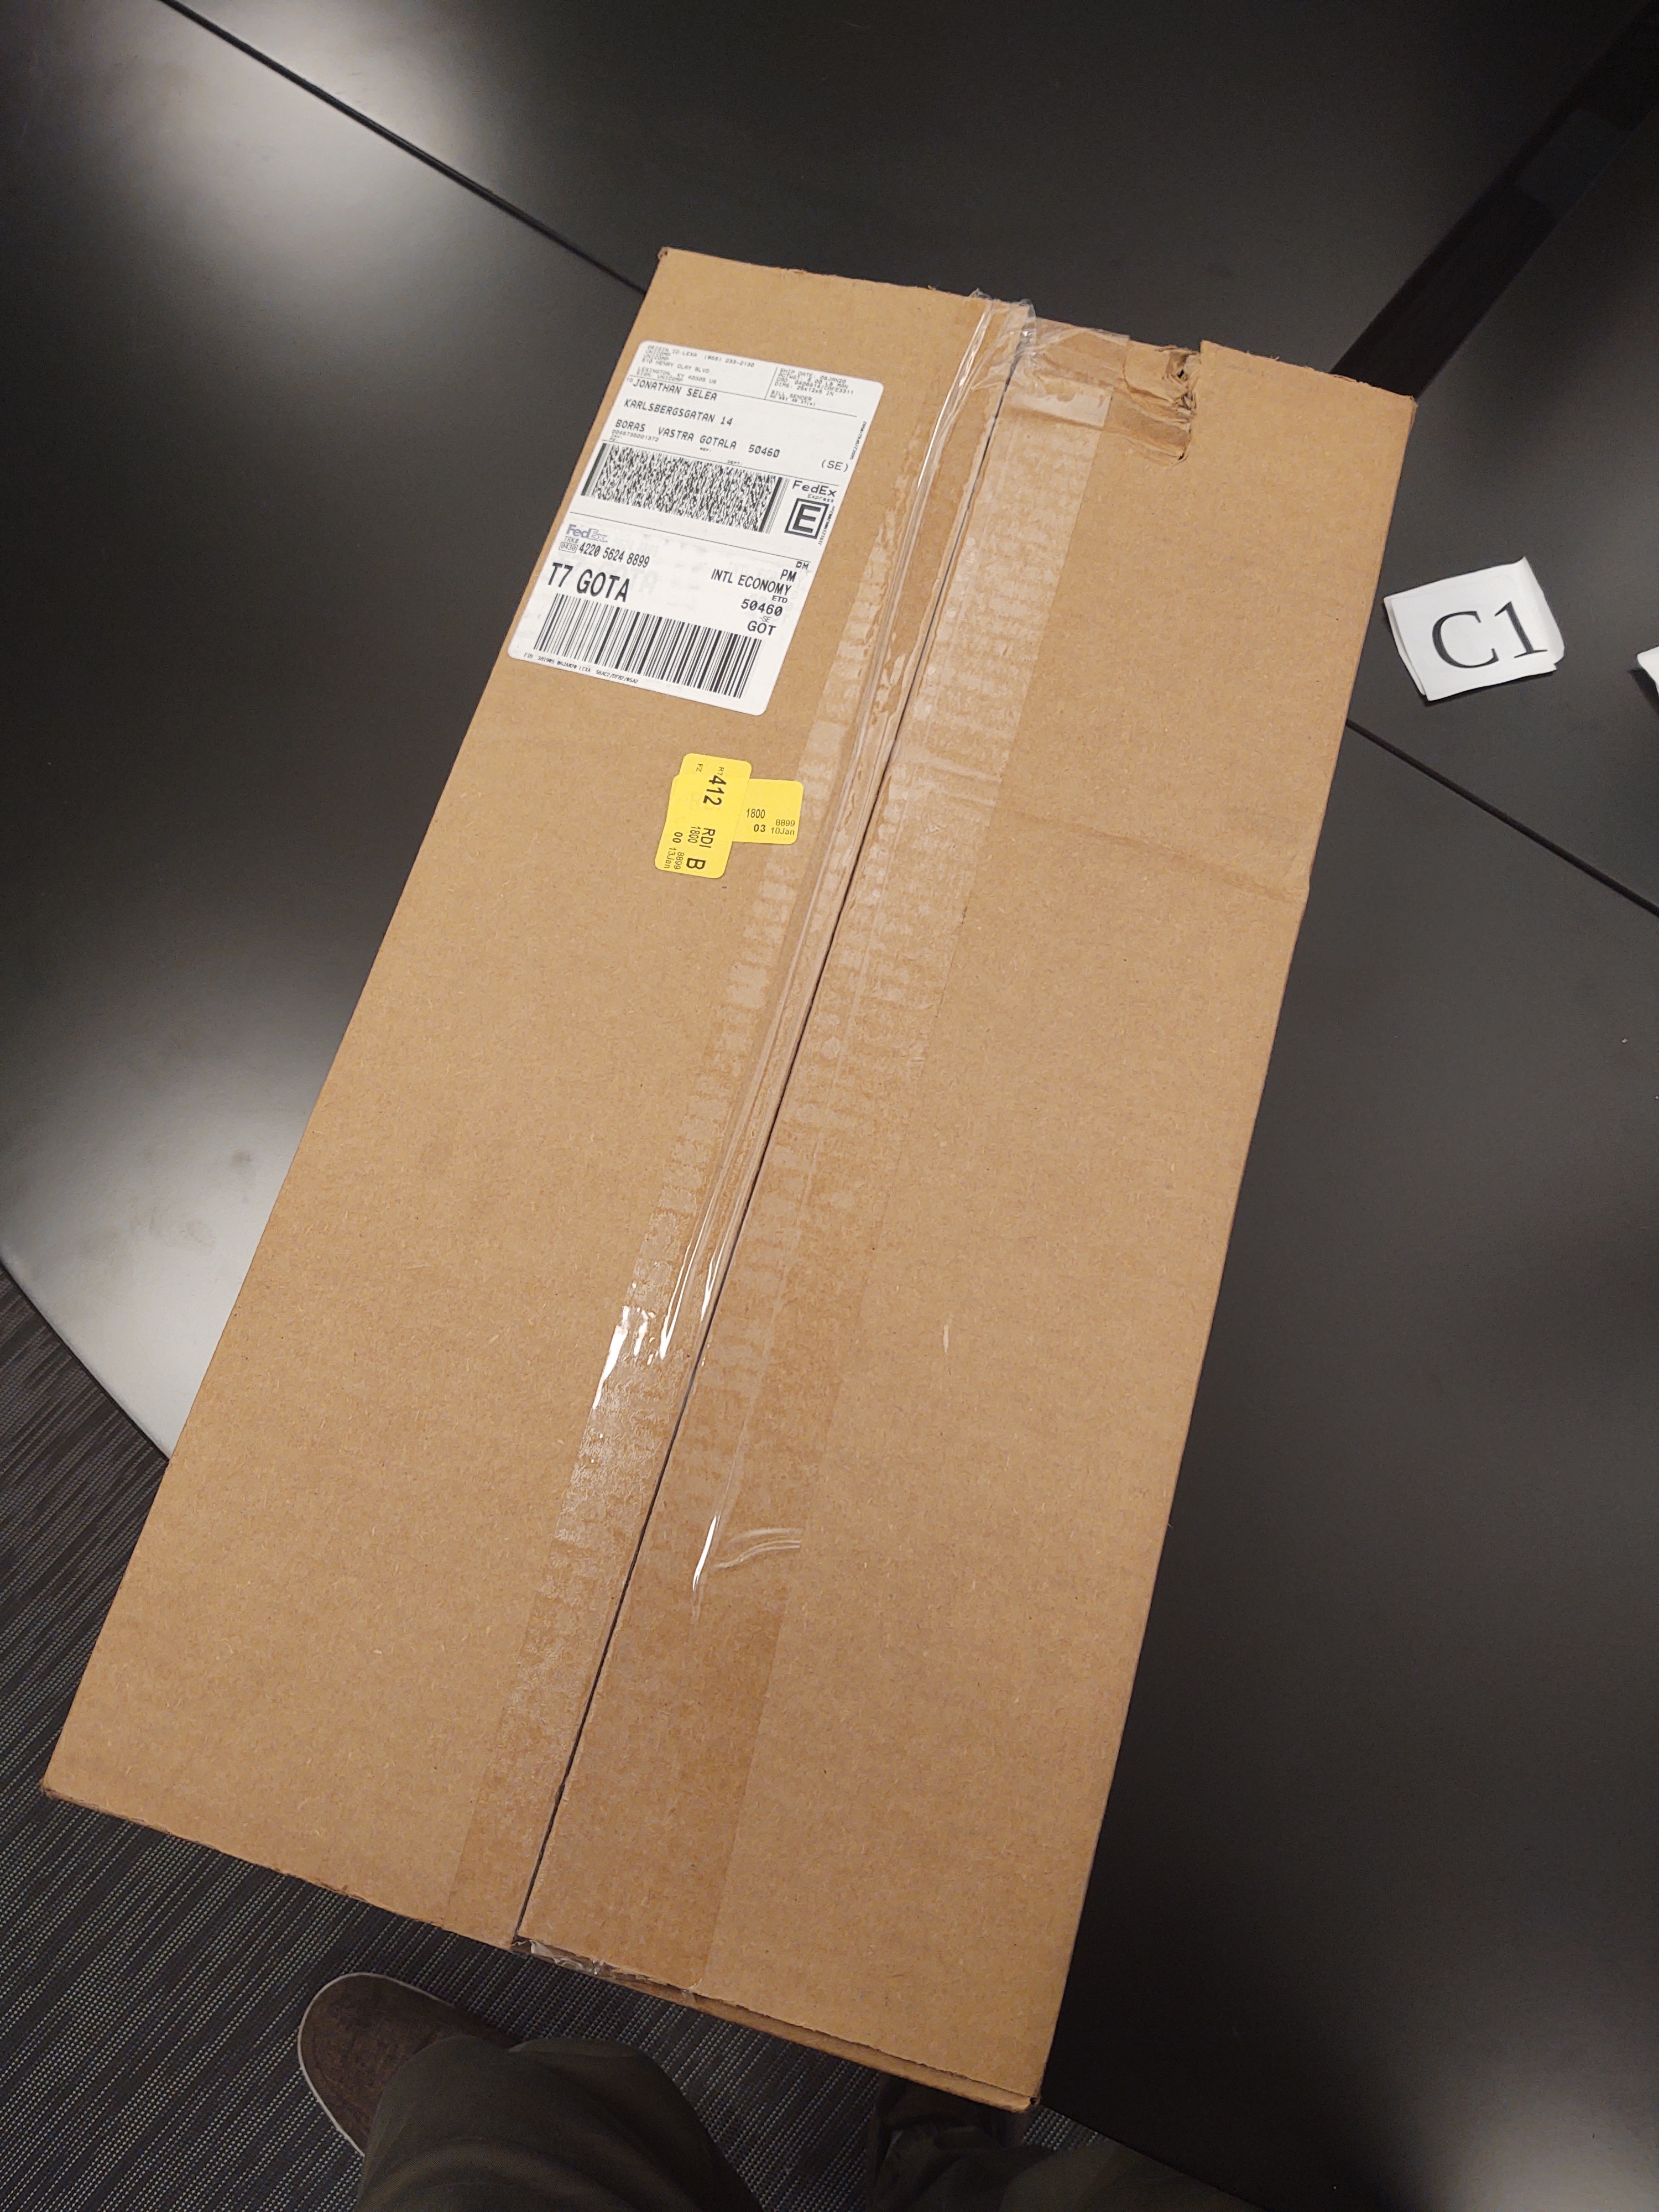
I unpacked it at work, but I did not leave it there. Because this bad boy is going to be at my desk at home. There is no other place I would place such a gem somewhere else.
As I wrote before, I've only been using crappy keyboard for my entire life, so I guess that I have to adapt to a “new way” of typing.
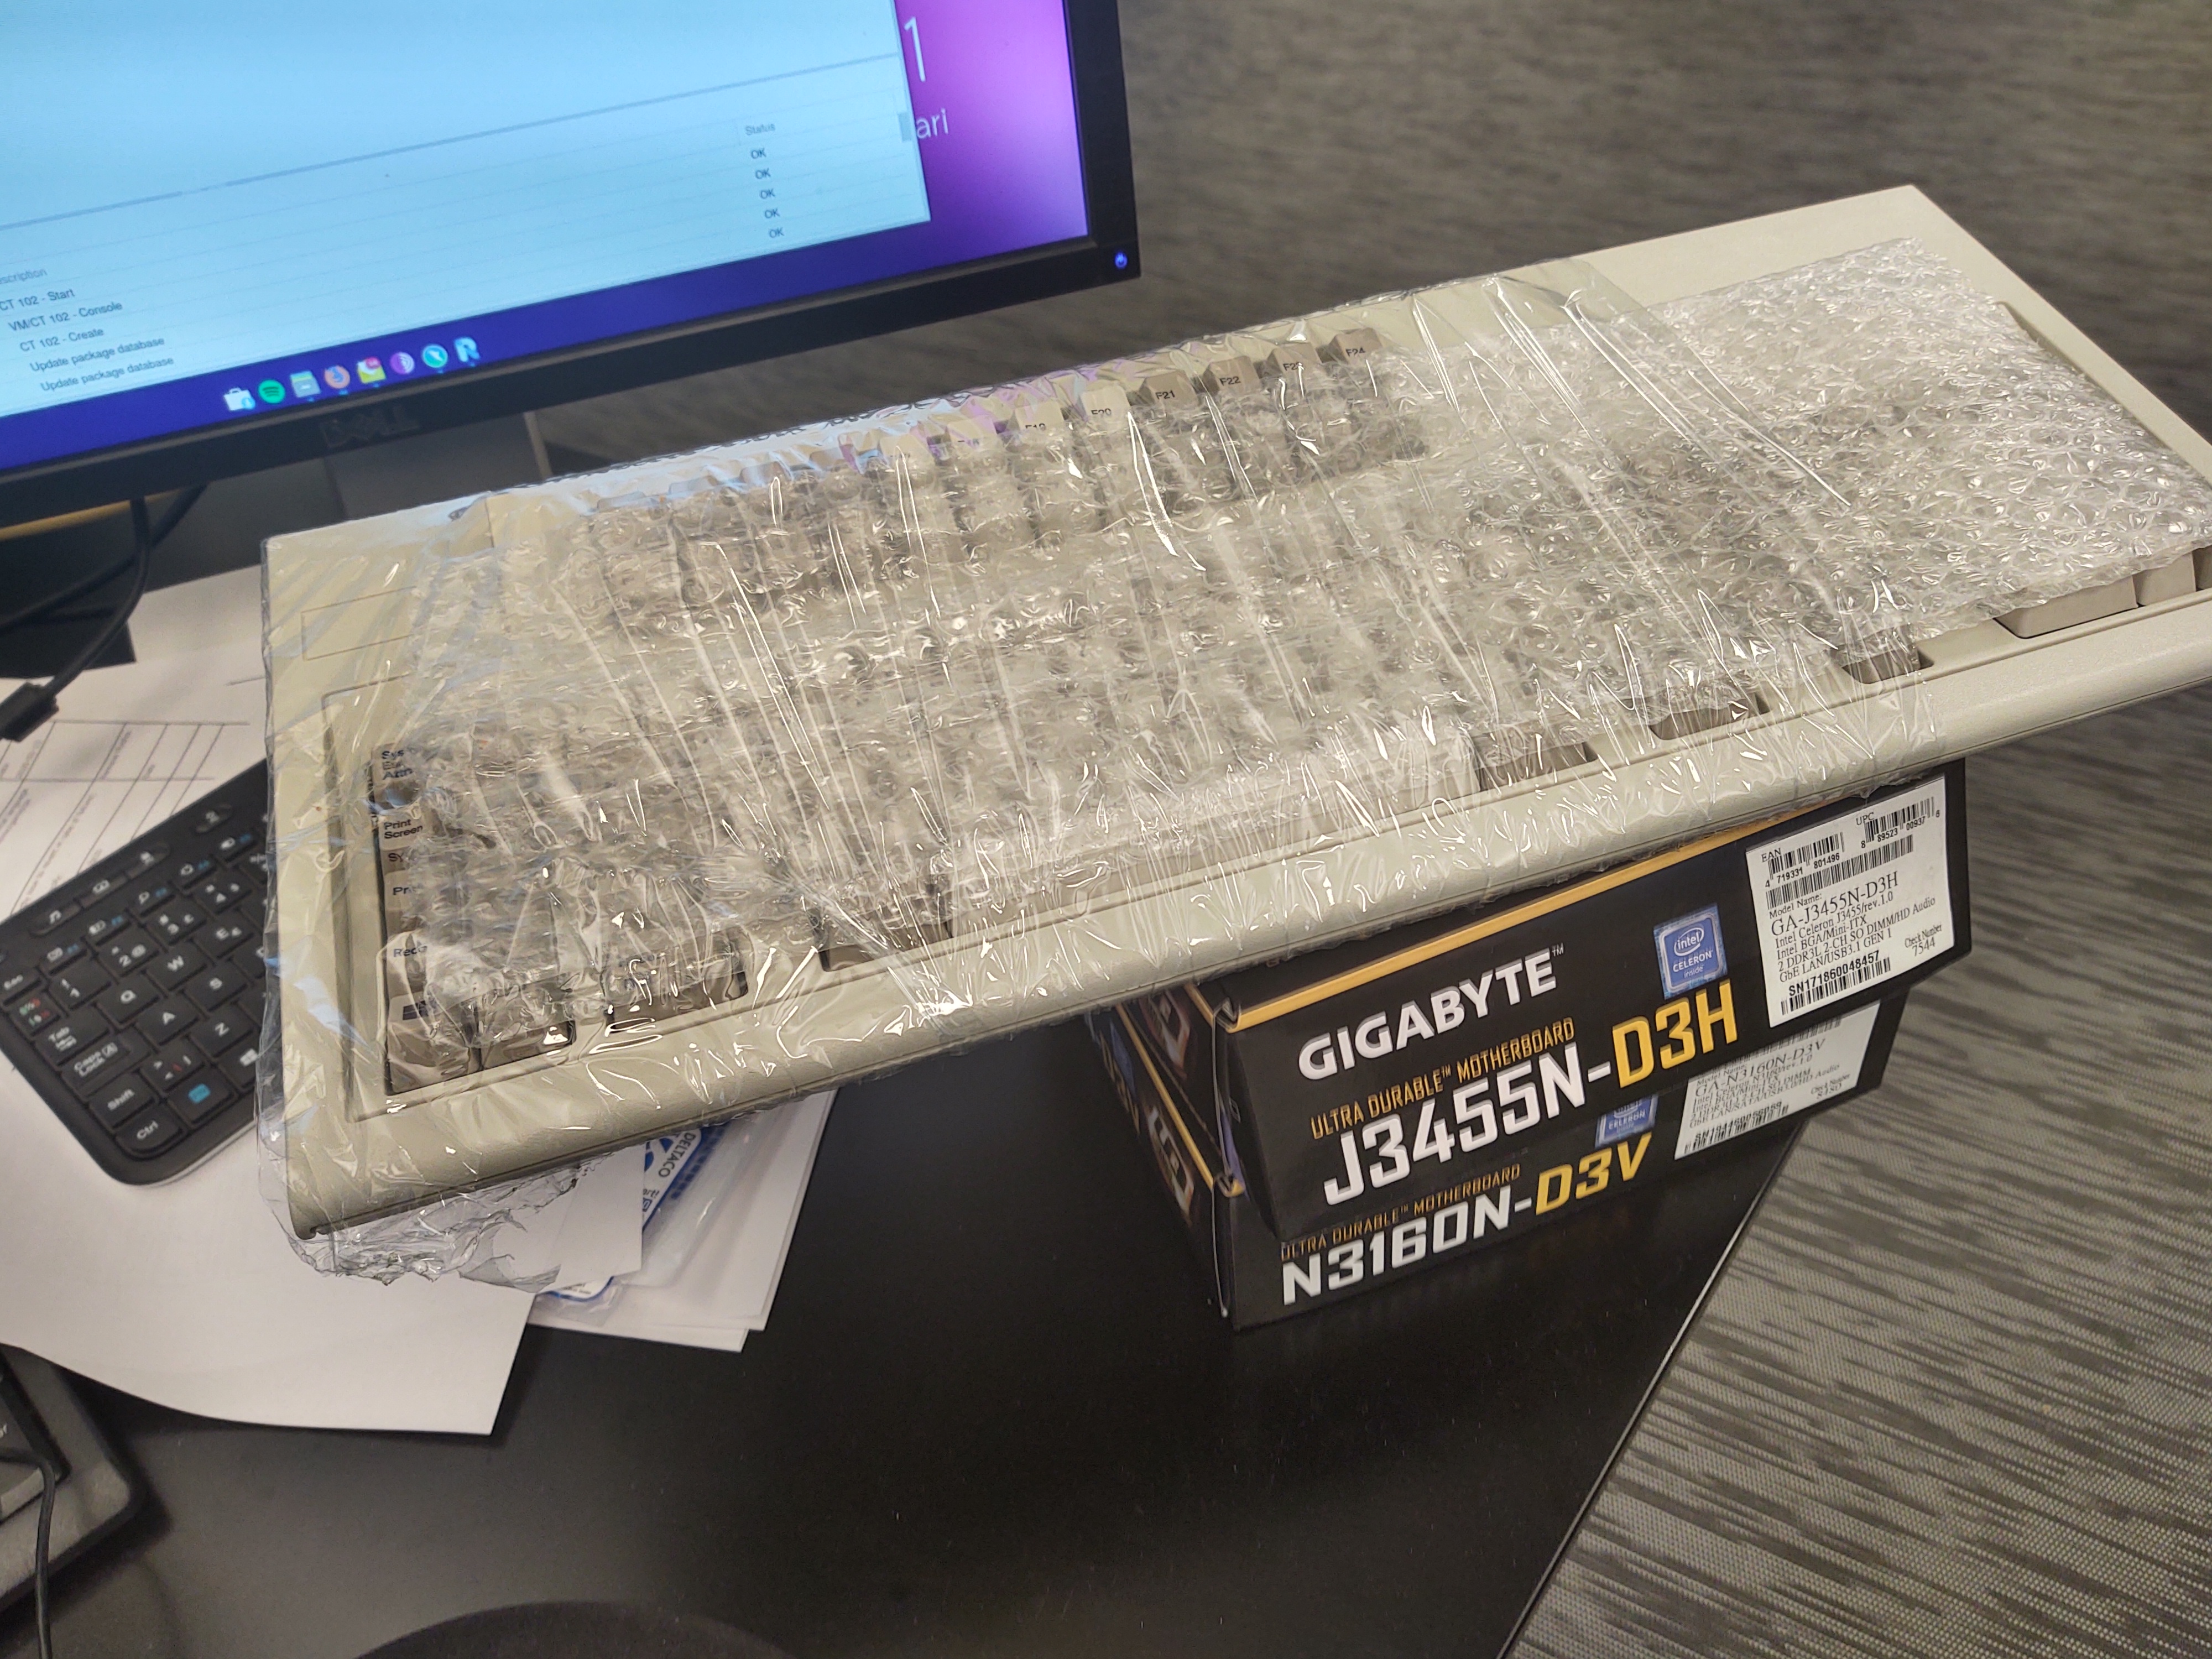
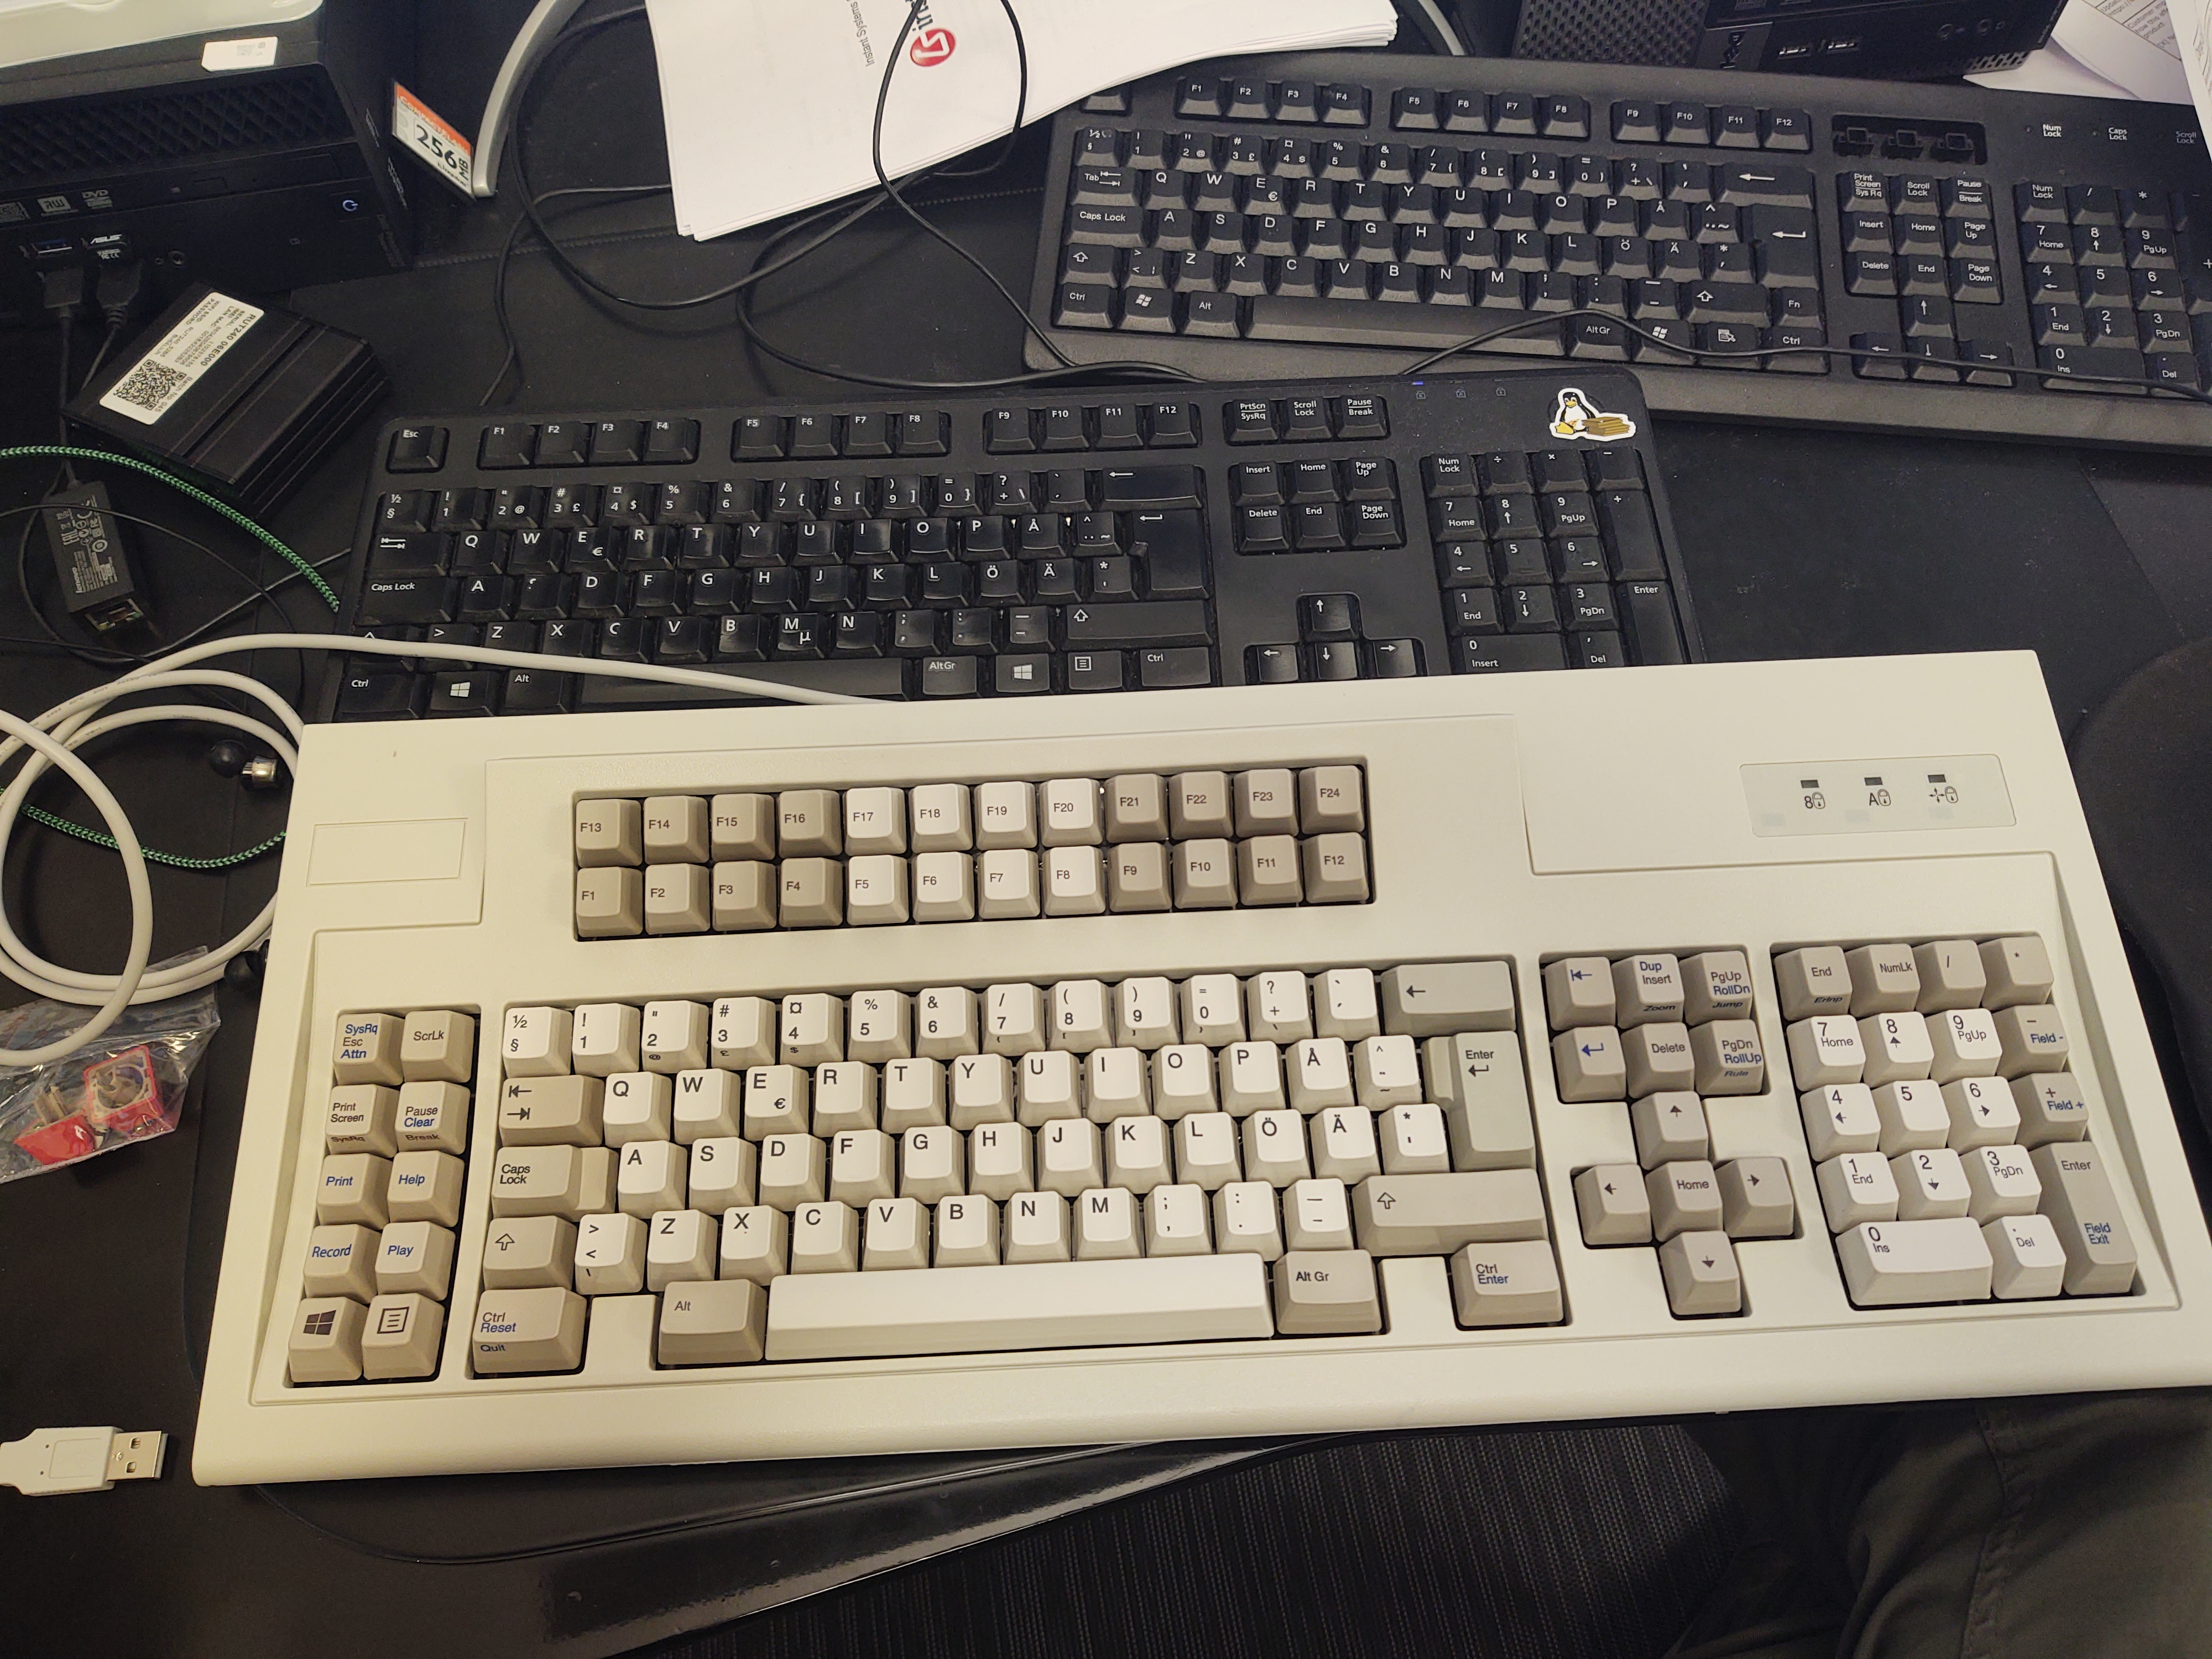
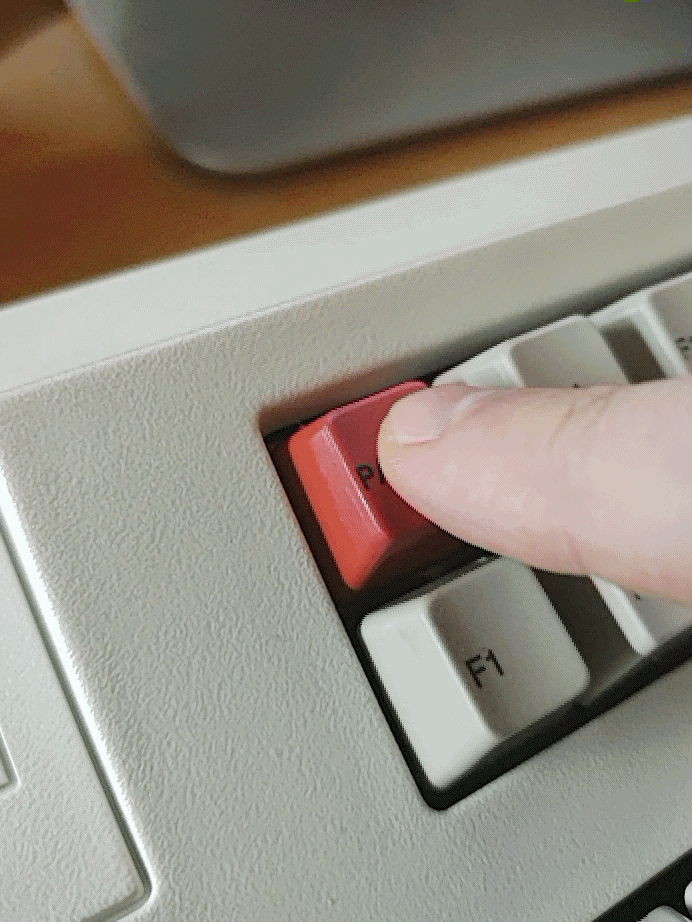
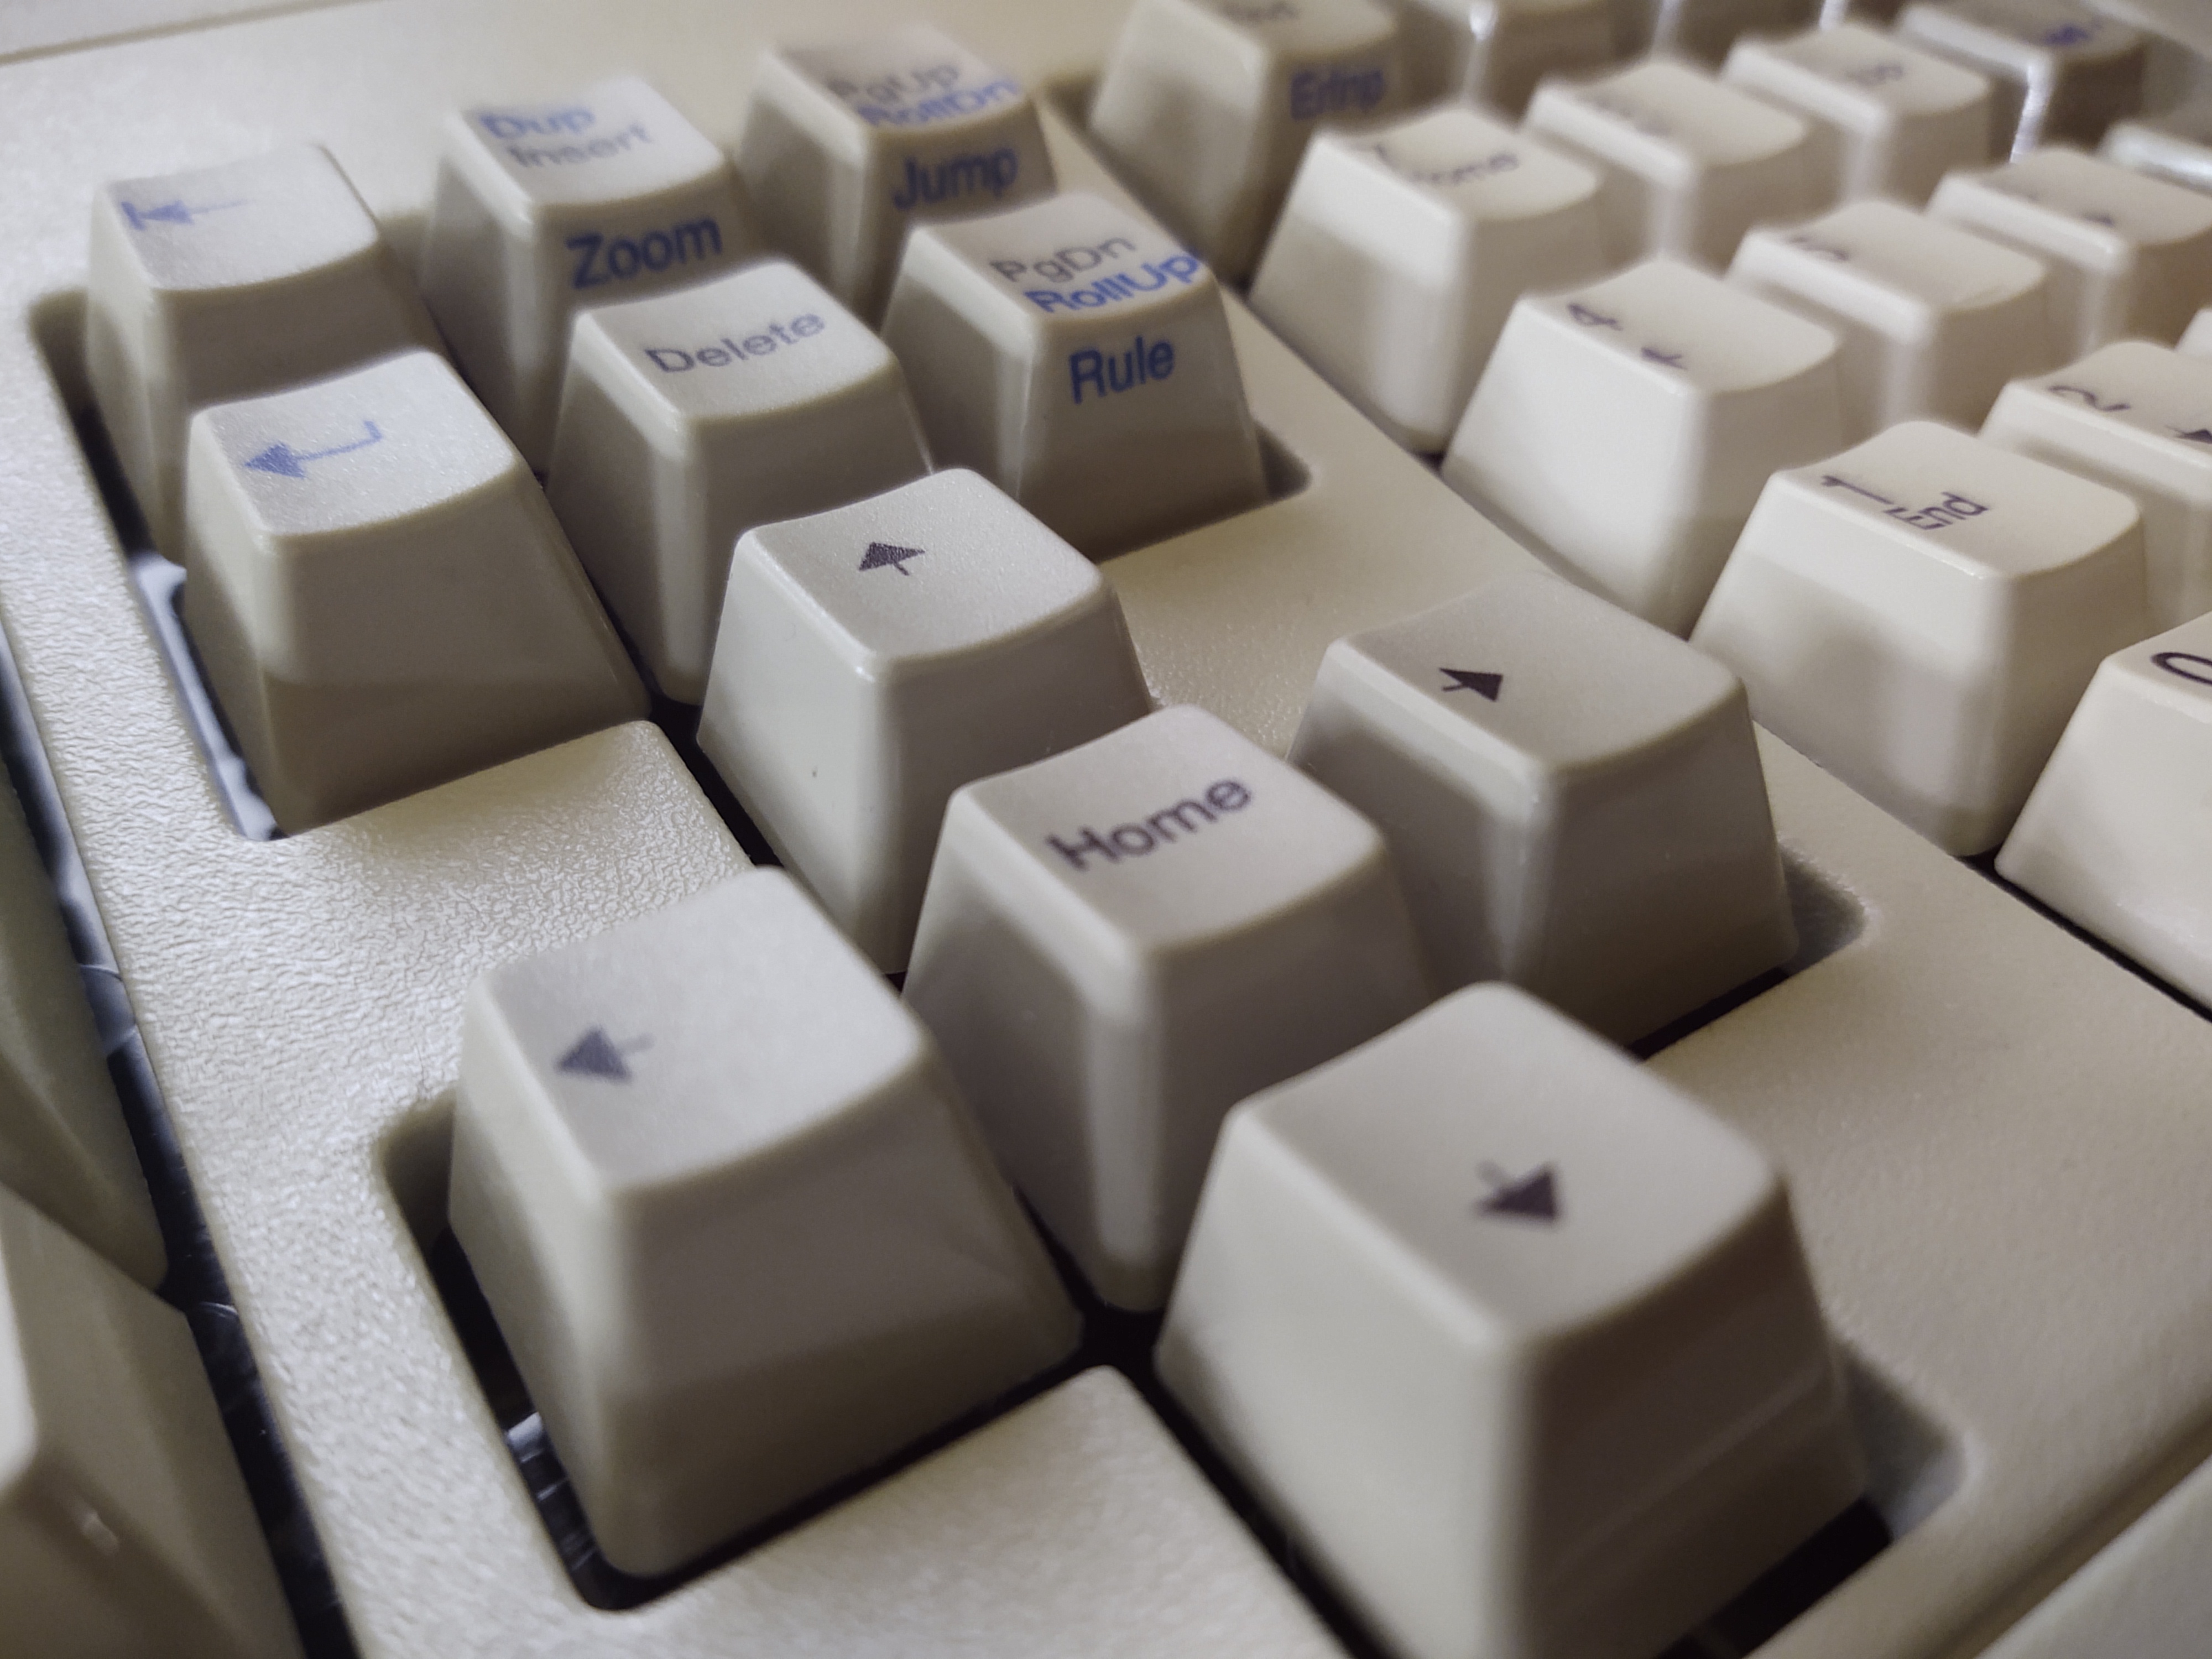
Here is some pictures of it:
Day 1
I connected the keyboard to my Trisquel PC and suddenly realized that there is no built-in settings for a keyboard like this in the system. There is only a “Generic 105-key keyboard) and some other brands. I tried to find anything online regarding this keyboard and using it on Linux like inputrc configs, but so far – nothing.
Day 2
I figure that I need to write a custom .inputdrc file in order to make cool stuff of all the keys. I have already binded some keys to application specific tasks, but I would like to use my “PANIC” button that I bought extra. And I also realized that I dont have any tool for keycap removal...
Day 3
I just adapted to the keyboard fairly quickly, and I got a little addicted to the clicking of the keys. Some of the F13 – F24 keys has been mapped to application specific tasks, such as controlling the look of the terminalemulator tilda and that works perfect. I also decide that I will move to either i3 or sway, and I realized after 3 minutes that i3 is the only option of those two because Trisquel is not using wayland.
So I just followed this guide and installed i3 with gaps (that's something kids like these days).
I do wonder how I will adapt to this layout thou.
Day 4
I launched i3 for the first time. And immediately started looking for a cheat sheet so I could start using it. I do liked the concept of it, and I will try to use it more and more.
I am starting to get used to the new keyboard, some keys are a little bit bigger than on normal keyboards but that's ok. My wife told me that could hear me from the other side of the apartment when I was typing – and that's not strange because this keyboard is loud, very loud.
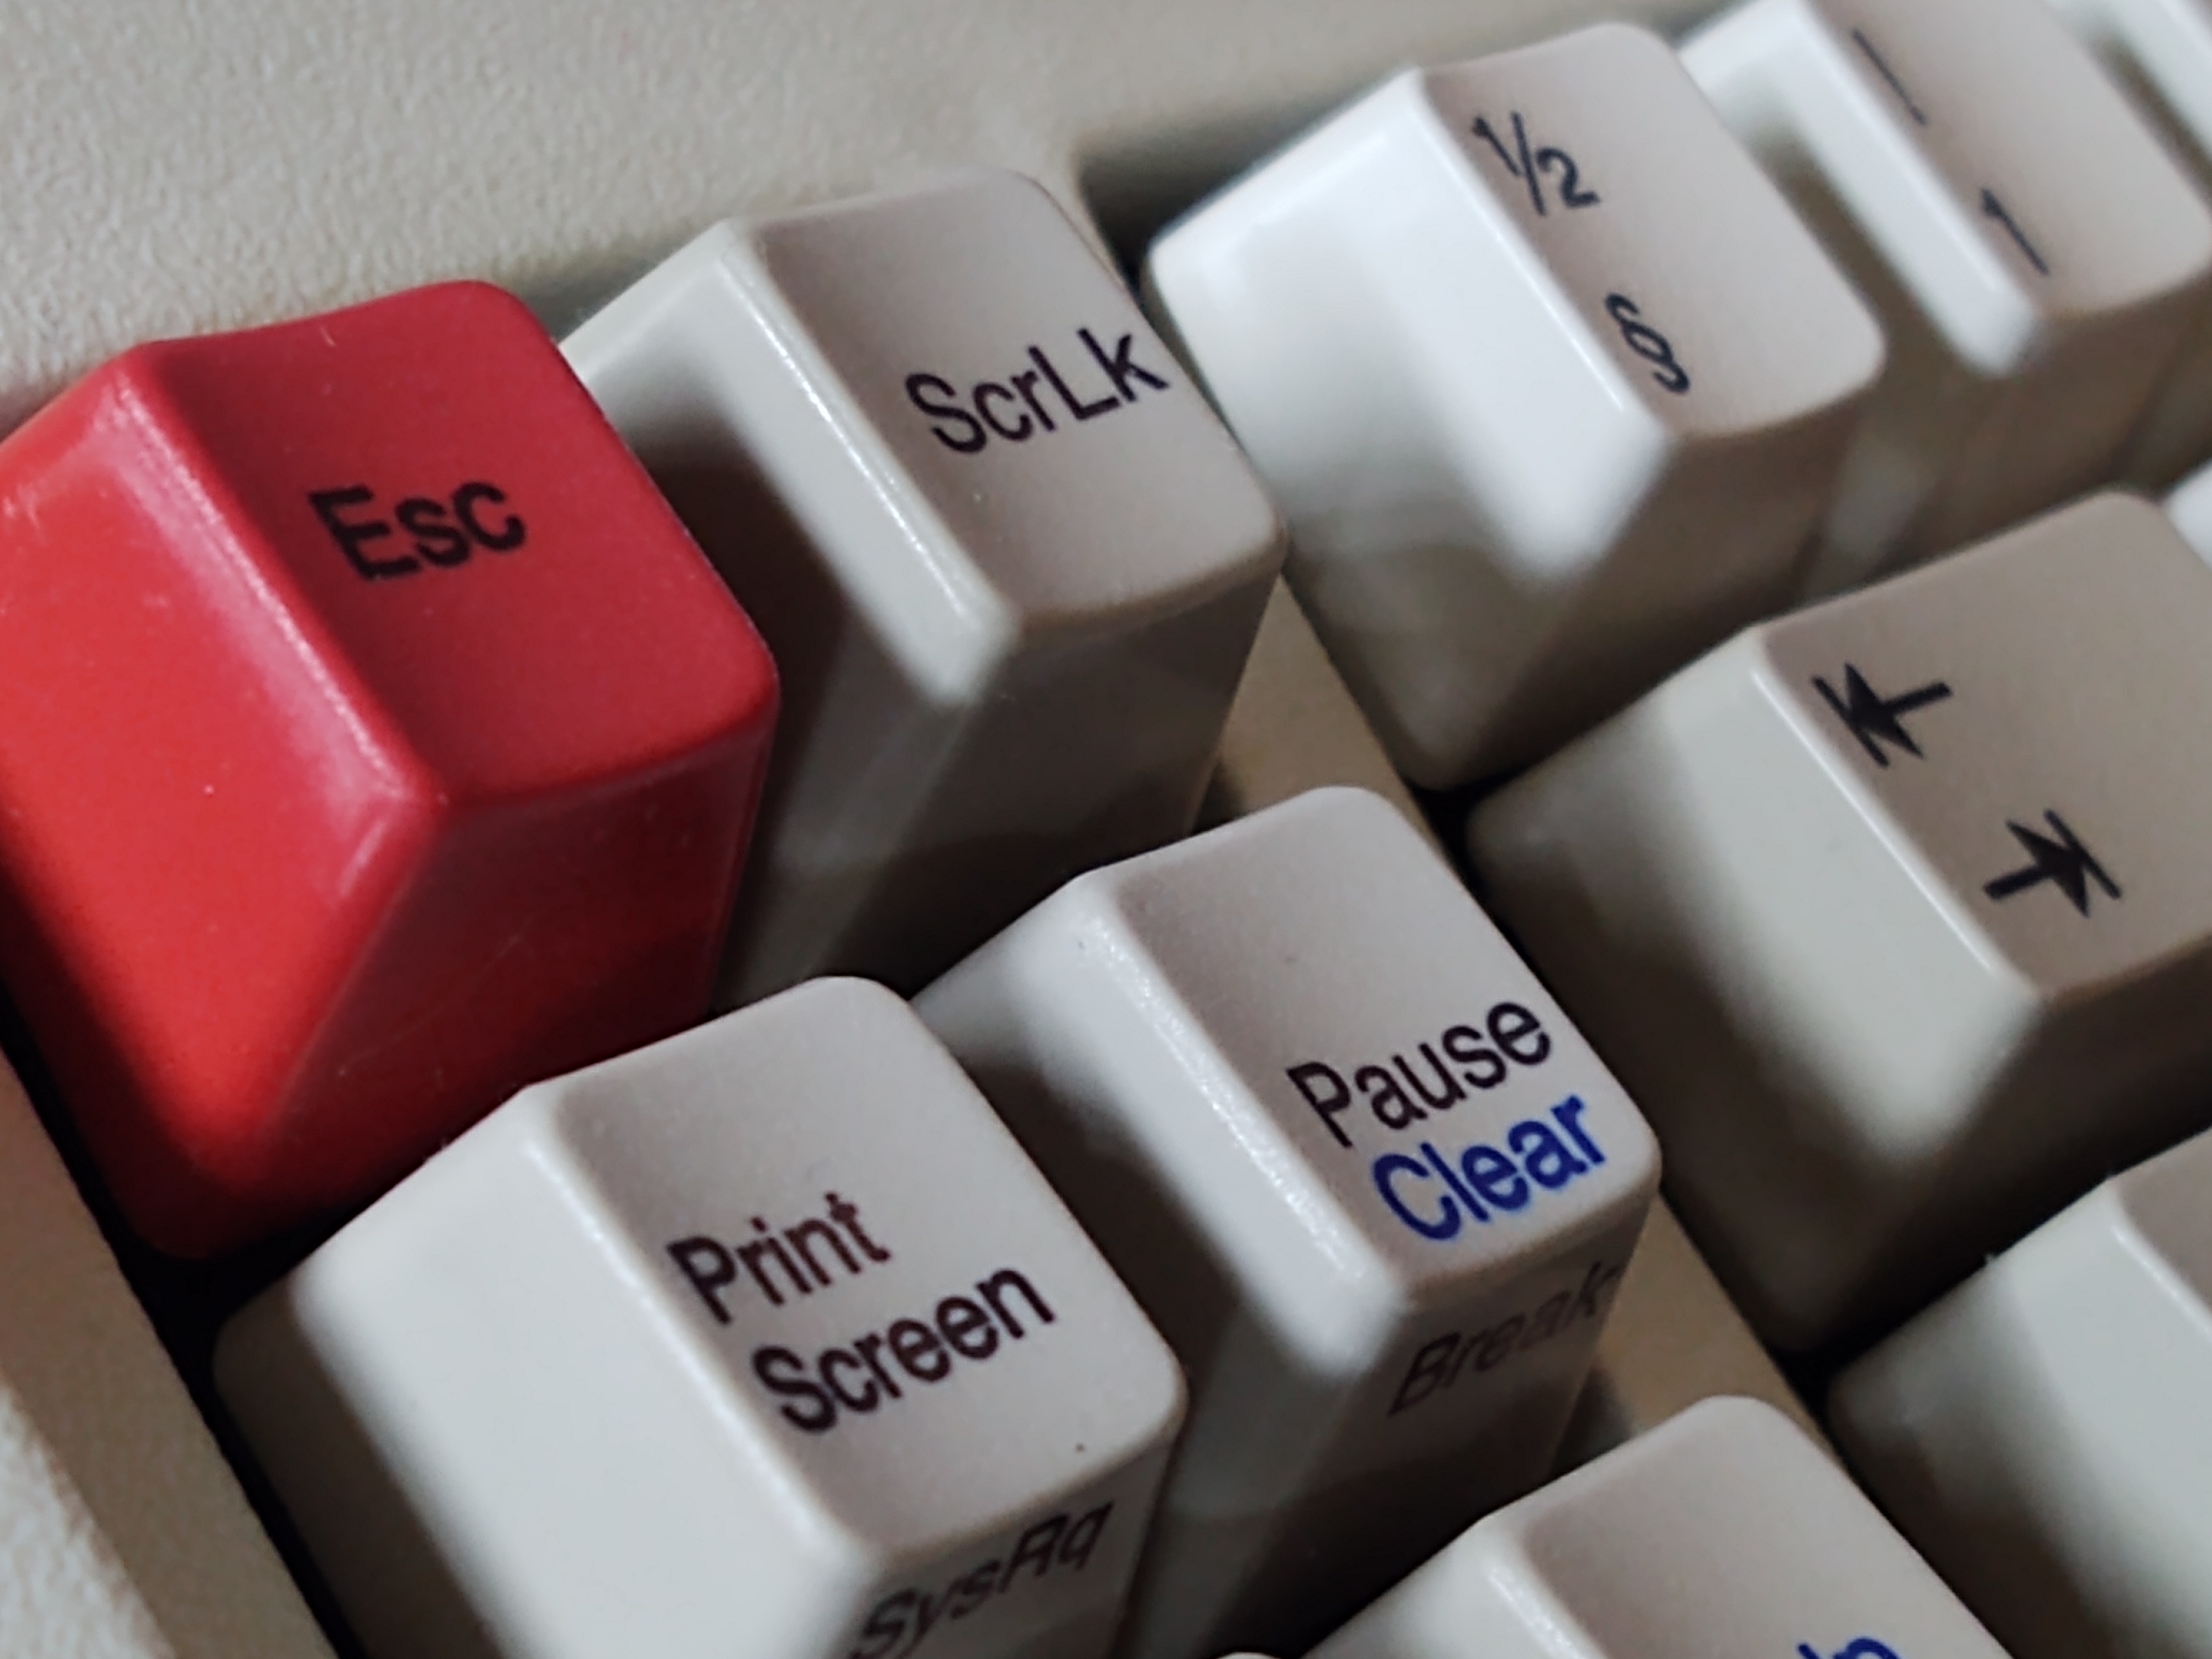
The overall look of the keyboard is nice too, with two red buttons (ESC and a PANIC button). I do have some more keys that I want to swap out too but I lack the tools to do it.
Sadly, the Linux specific keys that I bought does not fit. So I guess I have to save that for my next Unicomp.
Day 5
Well, I've been using this keyboard for 5 days now and I do not regret it that I had to pay $105+$25+$79+$20+$40 (keyboard, keycaps, shipping, PostNord fee, import tax). It is actually one of the most expensive things I personally own (except for the car).
The typing experience is great! The noise it does is addicting/awesome and I really LOVE the retro look, especially the white color that was standard when I was a kid.
Also, to you that like it – here is video with some typing noises. Enjoy!
For those who would like to buy the real Model M,
You can check out Unicomps website, I used the Keyboard configuration tool to get mine in a Swedish layout (you have to pick Swedish Finnish).