LinuxPizza

Personal notes and occasional posts

TLSA records – or more commonly known as DANE(DNS-based Authentication of Named Entities) is a protocol that is being used to “bind” TLS-certificates to a server. It is most used on email-servers to secure communication between different servers. The reason that DANE exist is to provide an additional layer of security and trust between server and client.

In this guide, I will walk your thru the following steps:

  • How to check if a SMTP-server uses DANE
  • How to configure postfix to start use DANE-verification on outgoing and incoming emails.
  • Generation of TLSA-records
  • DANE + Let's Encrypt – A Walkaround

Currently, DANE is not something that is widely deployed by big organisations and companies world wide. Instead, smaller companies, organisations and individuals with more flexibility in their IT-infrastructure has been able to contribute to SMTP-security. The only really big company that has announced their plans for a DANE-implementation is Microsoft – they announced their plans for DANE in april 2020 and hope the implementation to be finished in 2021. DANE does also require that the domain is DNSSEC signed for it to work, there is some mail-servers that can do DANE-verification without DNSSEC (like postfix), but I am not going to cover that part today.

But you are not here in order to wait for it to happend! Let's get started!

Does this server have a TLSA-record deployed?

First, does your email-server have TLSA-record deployed already? We can test it the simple way, with tools that already exist online, like this from sys4 and the one from Simon Huque.

Or, if you are as me – we will do the checks from the terminal with the tools our system provides.

Enter “dig”, a command that can be found in the package “dnsutils” on debian-based systems (“bind-utils” on RHEL based ones). So let's check the TLSA-record of the mailserver of linux.pizza:

dig _25._tcp.kebab.linux.pizza TLSA +short

This gives us the following answer:

3 1 1 2B4685AC11110AC51D117607C0E58D98AF3FD9A417EF3B5B61210578 67D92111

So, what we just did here was checking the host _25._tcp.hashmal.selea.se for a TLSA record. The first part – _25. represents the port. Second part – _tcp. represent the protocol. The third part – kebab.linux.pizza. represent the actual hostname of the server.

Deploy DANE-verification in postfix

This is probably the easiest step of them all: Add this into your main.cf file

smtp_tls_security_level = dane
smtp_dns_support_level = dnssec

Now, postfix does validate DANE for outgoing and incoming SMTP-connections – Nice!

Let's Encrypt + DANE

Since the hash in the TLSA-record is based on the private TLS-key, it does not really make sense to deploy it with Let's Encrypt since Certbot (the most used tool to deploy Let's Encrypt) generates a new private key every time a certificate is being requested.

We will generate the certificate using Certbot, feel free to use whatever client you'd like. Just keep in mind that you have to reuse the same .csr.

We will have to do the issuing and renewal via HTTP/HTTPS, so I assume that you have a webserver installed on your machine. Create this config-file and place it in a good location (like /usr/share/etc/leconfig/mx.your.host):

domains = mx.your.hostname
webroot-path = /path/to/webserver/root
 
rsa-key-size = 4096
email = info@your.hostname
text = True
authenticator = webroot
renew-by-default = true
agree-tos = true

Now, issue your initial certificate:

certbot -c /usr/share/etc/leconfig/mx.your.hostname certonly

Once the certificate have been issued, you can find it in /etc/letsencrypt/live/mx.your.hostname, for sanity sake, we will copy the entire folder to another location.

mkdir -p /usr/local/etc/letsencrypt/live/
cp /etc/letsencrypt/live/mx.your.hostname /usr/local/etc/letsencrypt/live/

Let's copy the .csr file also (most important!), assuming that this is the first certificate issued – take the one starting with 0000, otherwhise you can match the csr timestamp with the certificate you just generated:

cp /etc/letsencrypt/csr/0000_csr-certbot.pem /usr/local/etc/letsencrypt/live/mx.your.hostname/mx.your.hostname.csr

And lets modify the configuration file that we did before accordingly in order to tell certbot where the .csr file is, and where to place the certicate:

domains = mx.your.hostname
webroot-path = /path/to/webserver/root

csr = /usr/local/etc/letsencrypt/live/mx.your.hostname/mx.your.hostname.csr
cert-path = /etc/letsencrypt/live/mx.your.hostname/cert.pem
fullchain-path = /etc/letsencrypt/live/mx.your.hostname/fullchain.pem
chain-path = /etc/letsencrypt/live/mx.your.hostname/chain.pem

rsa-key-size = 4096
email = info@your.hostname
text = True
authenticator = webroot
renew-by-default = true
agree-tos = true

You can try reissuing the certificate with:

certbot -c /usr/share/etc/leconfig/mx.your.hostname certonly

Awesome! Your certificate should have been renewed with the same .csr file and private key. Now we can proceed to configuring postfix to use the certificate, private key and intermediate certificate. Look for the following lines:

smtpd_tls_key_file
smtpd_tls_cert_file
smtpd_tls_CAfile

And we will add the path to the certificate-chain:

smtpd_tls_key_file = /usr/local/etc/letsencrypt/live/mx.your.hostname/privkey.pem
smtpd_tls_cert_file = /etc/letsencrypt/live/mx.your.hostname/cert.pem
smtpd_tls_CAfile = /etc/letsencrypt/live/mx.your.hostname/chain.pem

Restart postfix, and you are ready for the next step!

Generate your own TLSA-record

We will use the “hash-slinger” package, and it is very simple! Just issue the following on any computer that has a https-connection to your mailserver:

tlsa --create mx.your.hostname

You will get something like this:

_443._tcp.mx.your.hostname. IN TLSA 3 0 1 54f3fd877632a41c15b0ff4e50e254ed8d1873486236dc6cd5e9c1c1993d1e4e

Perfect, you now has the record that you should deploy at your DNS-provider, with a slight modification:

_25._tcp.mx.your.hostname. IN TLSA 3 0 1 54f3fd877632a41c15b0ff4e50e254ed8d1873486236dc6cd5e9c1c1993d1e4e

Notice how we change the first part – the port. After you have published your record, wait for a little while and check if it valid with this tool.

Thank you for making Email awesome again!

End

I hope that you found this little guide helpful! Let me know what you think, hook me up on Mastodon on @selea@social.linux.pizza

With great power comes great responsibility, so let's abuse our power we have as sysadmin in the companies we work for!

I do assume that your colleagues have a sense of humor!

Randomly let the computer talk

This script let the computer say “good morning” from the speaker, with a minimal interval of 20, and maximum of 360 minutes.

Set sapi=CreateObject("sapi.spvoice") 
randomize 
message = "good morning"
max=360 
min=20
skew=Int( ( max-min + 1) * Rnd + min) 
wscript.sleep(skew * 5 * 60000) 
do 
sapi.Speak message 
skew=Int( ( max-min + 1) * Rnd + min) 
wscript.sleep(skew * 60000) 
loop

Eject the CD-ROM drive once every 3000 seconds

Set oWMP = CreateObject("WMPlayer.OCX.7" )
Set ArrCDROM = oWMP.cdromCollection
while (1)
wscript.sleep 3000
ArrCDROM.Item(0).Eject
wscript.sleep 3000
ArrCDROM.Item(0).Eject
wend

This script changes that playing song on spotify

Set WshShell = WScript.CreateObject("WScript.Shell")
  ' spotify or user_id_number if playlist is private. ID can be found by using Spotify's Share button
  WshShell.Run "spotify:user:<spotify/user_id_number>:playlist:<playlist_code>", 3, false
WScript.sleep 20000
  ' Change active Window
WshShell.AppActivate "Spotify"
  ' Start playing selected queue
WshShell.SendKeys " "
  ' Focus?
WshShell.SendKeys "{ENTER}"
WScript.sleep 100
  ' Shuffle play next track
WshShell.SendKeys "^{RIGHT}"
WScript.Quit 0

EDIT: Apparently this does not work anymore, since Spotify has removed the API.

Not really the typical “Linux Sysadmin things” this time, but if you work as a sysadmin at a company – this can be gold! If you have any other ones, let me know and I will add them here and credit you :)

#vbs #windows

And stickers

I am not a person that is good at wrapping messages up in nice words and persuasive language, especially when it comes to something about money (I would never be a good salesperson). But we want to be transparent with out stuff and what we do, so that require us to write about it too. I hate begging for $, and would much rather finance everything from my own pocket but that is not really possible and would also not be that good for our users.

Running Linux.Pizza is not free – infact it costs several hundreds of dollar every year (close to $1000/year) not including the time we spend on maintenance and support. (A breakdown of the cost is further down)

Also, Linux.Pizza would really love to add new services and functionality to its portfolio, but due to limited economical resources we are not really able to make that a priority – but with your help we can change that!

LinuxPizza got donations worth $200 during 2019 and it covered the cost of operations for 2.5 month – we are extremely thankful for the generosity of our users!

So today, we are launching a small campaign to encourage everyone who have the means and want to donate to just that. And as a small thank you, we will ship you a couple of sticker that you can stick anywhere you want! For example: your laptop, your car or parents car or your stickerwall (everyone has one right?).

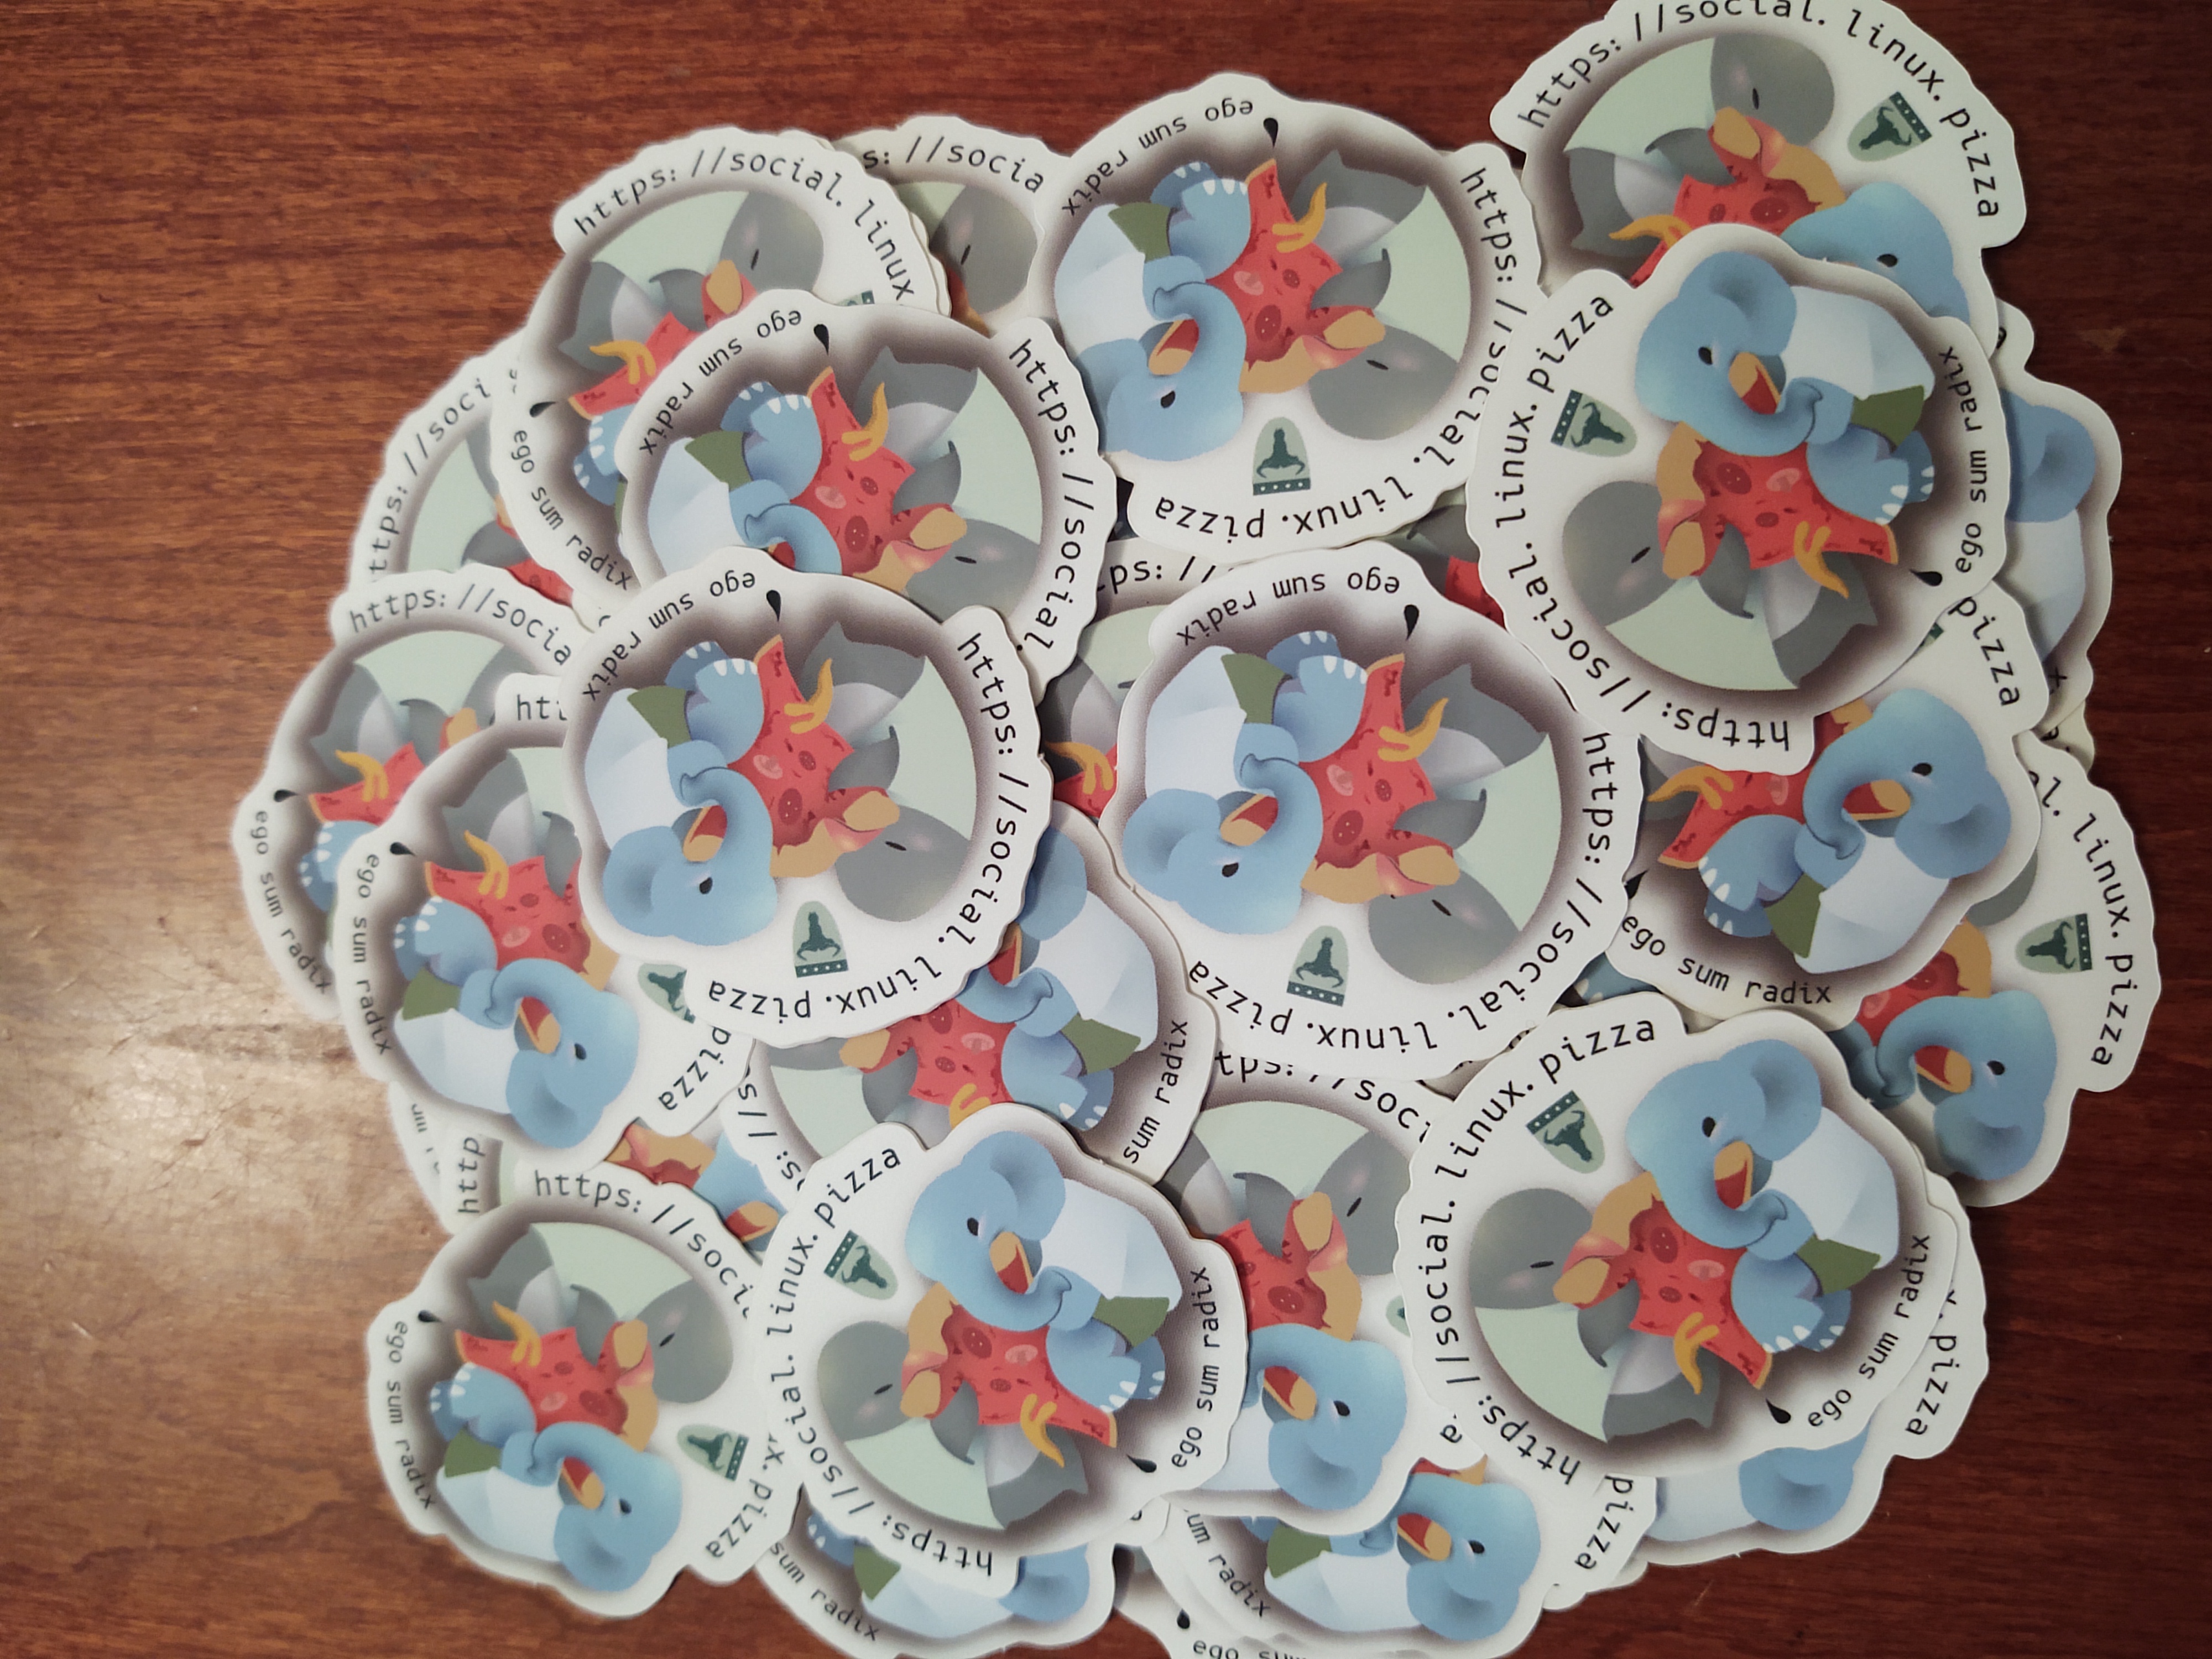
So in order to keep it realistic, everyone that donates atleast $10 is eligible for a small “sticker-pack” as shown in the pictures. Just let us know to whom we should ship the stickers to after the donation is made! If you have the means and will – head over to the liberapay-page or paypal-page. If you are a Brave user, you can always send a tip :) Send us an email when you have sent at donation with your email and address.

100% of the donations will go back to the Linux.Pizza project and nothing else.

Linux.Pizza Stickers! NOTE: You will receive a couple of stickers from each pile social.linux.pizza stickers!
Breakdown of the cost per year

Domains:
  1. linux.pizza – $36
  2. pixelfed.se – $12
Infrastructure:
  1. DNS (this includes FreeDNS environment – $144
  2. Pixelfed instance – $60
  3. Mastodon instance – $240
  4. Temporary email service – $110
  5. Power consumption and Internet connection – $150
  6. Mirror for various distros and software –$300
    • Most of the cost is sponsored by operationtulip)
  7. CDN for the Mastodon instance – $20

Some of the stuff that we would like to get started with:

  1. Nextcloud
    • This would require us to get more storage like harddrives or SSD's.
  2. Email service
    • Technically, we could rent a cheap VPS at some provider at get started. But that would certainly be hard due to the fact that GAFAM is marking mail as spam unless they come from a clean network. And cleaner networks/ISPs tend to cost more.
  3. Peertube?
    • We have gotten the question a couple of times, but we are unsure how it would fit into Linux.Pizzas services. This would require more storage anyway.

I have a custom application that my wife wrote for one of her personal projects. It turns out that the application crashes after 50-70 hours of uptime and both of us does not have the time or knowledge yet to debug that.

And that application is not that important either, it is just a website that displays various articles and pictures.

So in order to just push the problem under the rug, I just configured the system to restart the application ever 4th hour.

First, I create a service that we name “custom-application-restart“:

vi /etc/systemd/system/custom-application-restart.service
[Unit]
Description=restart custom application

[Service]
Type=oneshot
ExecStart=/bin/systemctl restart custom-application

Next, we have to add a timer-service, note that the name of the timer-service must be the exact name of the restart-service, except that we swap out “service” to “timer”:

vi /etc/systemd/system/custom-application-restart.timer
[Timer]
OnActiveSec=4h
OnUnitActiveSec=4h

[Install]
WantedBy=timer.target

Now, you should do the following:

systemctl daemon-reload
systemctl enable custom-application-restart.timer
systemctl start custom-application-restart.timer

Now, you should see your newly added timer-service in this list:

systemctl list-timers --all
Mon 2020-02-17 11:01:42 UTC  50min left Mon 2020-02-17 07:01:42 UTC  3h 9min ago  custom-application-restart.timer    custom-application-restart.service

Galera is a part of MariaDB and enables active/active/active replikation of databases between servers. While it necessarily dont provide any performance gains, it instead enabled a HA for the databases.

This guide assumes that you run Debian 10, which comes with MariaDB 10.3

Install MariaDB 10.3

    apt-get update
    apt-get install mariadb-server galera

Configuration

It is always STRONGLY recommended to run an odd number of nodes, and atleast three nodes. This is to avoid split-brain and alot of headache and frustration in the future. Please, just set up three nodes and dont bother with a 2 node cluster.

Sure, more servers = the slower the writes will be. So it is recommended to go with atleast 3 nodes, and maximum

Galera configuration

In order to create our galera-cluster, we have to create the following file: /etc/mysql/conf.d/galera.cnf, add the following content. Just be sure that you edit it to fit your needs.

    [mysqld]
    binlog_format=ROW
    default-storage-engine=innodb
    innodb_autoinc_lock_mode=2
    innodb_doublewrite=1
    query_cache_size=0
    query_cache_type=0
    bind-address=0.0.0.0
    wsrep_on=ON
    wsrep_provider=/usr/lib/galera/libgalera_smm.so
    wsrep_cluster_name="galera1"
    wsrep_cluster_address=gcomm://192.168.2.11,192.168.2.12,192.168.2.13
    wsrep_sst_method=rsync
    wsrep_node_address=192.168.2.11

You might want to edit the “listen” address for the MariaDB installation, it is usually found in /etc/mysql/mariadb.cnf.

Configure the other servers accordingly, and execute systemctl restart mariadb-server on all nodes. You might want to execute galera_new_cluster on one of the nodes and restart all the nodes again.

Now, you can try to create a database on one node:

    create database testdb

And you should be able to see it from the other nodes:

    show databases;

And also moved over to a tiling windows manager

And you are maybe asking – why?

I once bought a keyboard together with my brother for 20 years ago, we saved our money to buy it and we did! Sadly, I do not remember the model or the brand of the keyboard – but atleast I know what it looks like! That was the ONLY keyboard I have ever bought, the rest is just from “piles of trash” mean for recycling.

About 7 years ago, I joined a random mumble channel and out of the blue we started to talk about keyboards. I've always used crappy keyboards in my life (those you find in school, libraries etc) and I did not know anything else.

I threw me back in time to when PC's where much more simpler, a time where the 5 year old me spend in front of Windows 95 and the typical 90's white colored PC, keyboard, mouse, speaker and screen. That color does reminds me of times when I did not understand the world and therefore the world was a much nicer place, for me atleast.

They keyboards where immediately thrown on my wishlist. And I dreamt of the day I could get one. I did not buy it for another 7 years – not because I did not want any, but that I instead prioritized real life stuff instead.

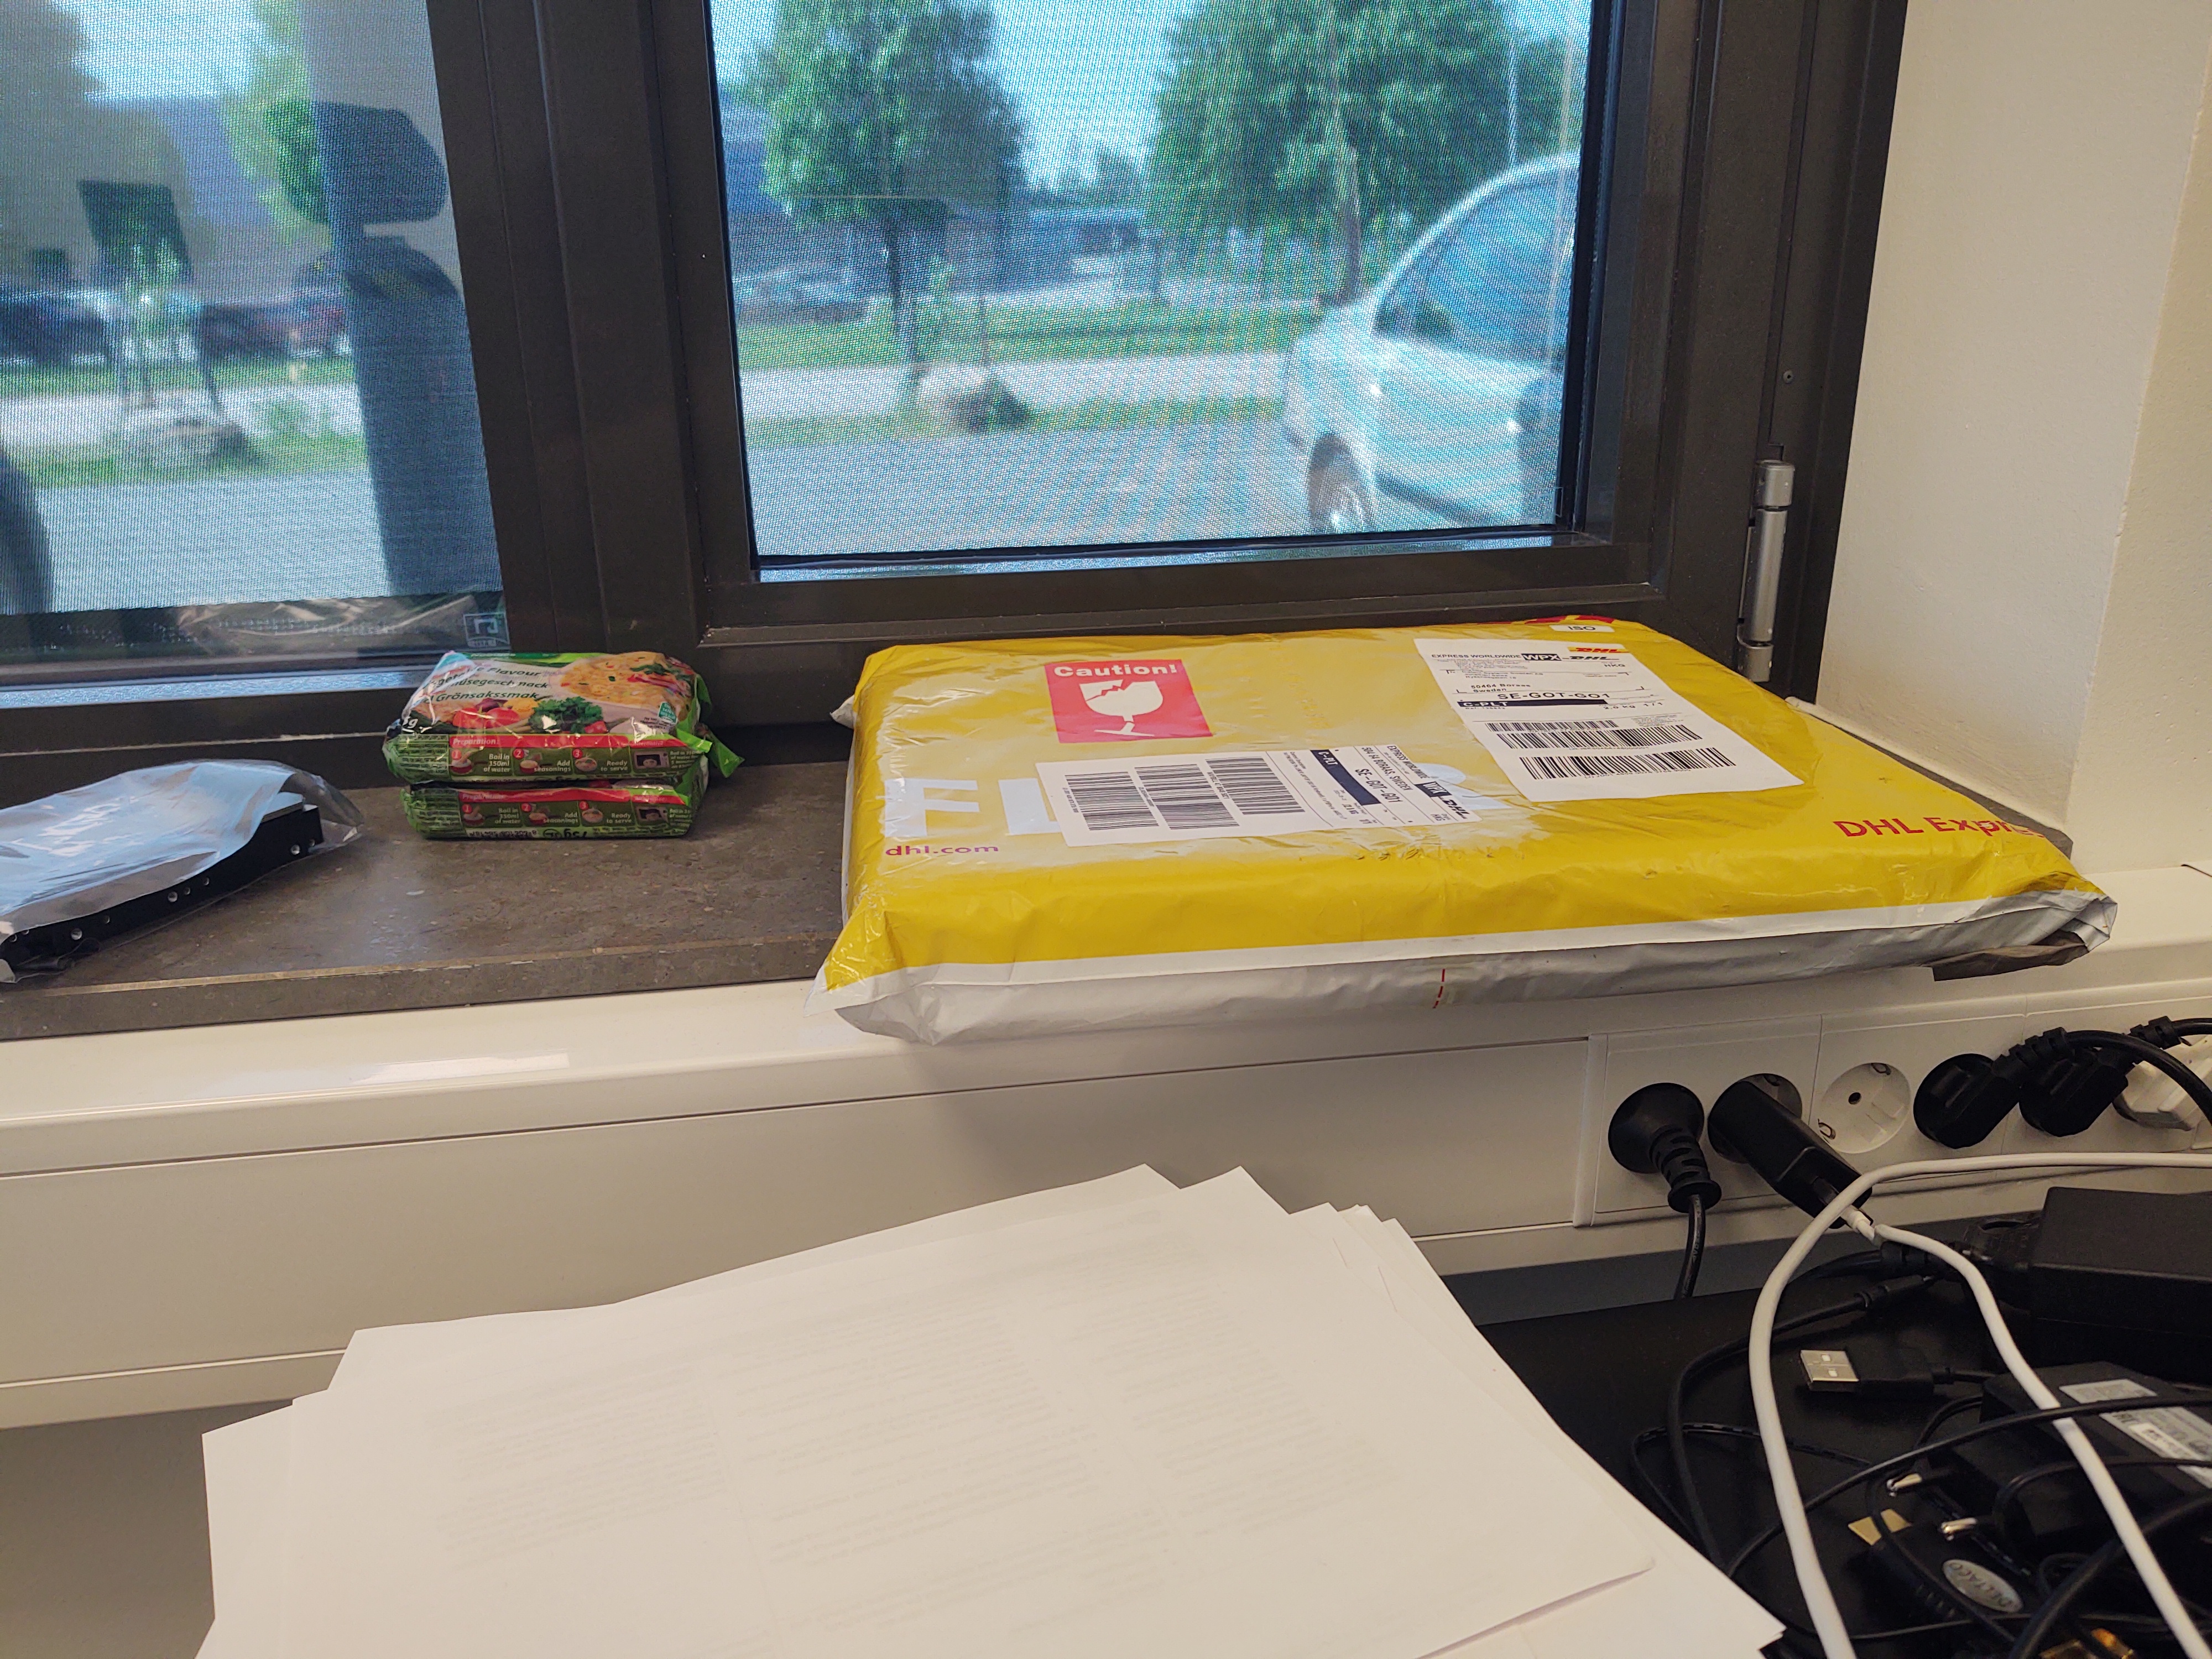
But finally, I did buy it. And after 10 days of waiting for it to ship from Lexington, Kentucky (US) to me here in Sweden I did get it delivered to my work. And I was the only one that was excited! Package delivered Package unpacked

I unpacked it at work, but I did not leave it there. Because this bad boy is going to be at my desk at home. There is no other place I would place such a gem somewhere else.

Keyboard on desk with two other crappy ones

As I wrote before, I've only been using crappy keyboard for my entire life, so I guess that I have to adapt to a “new way” of typing.

Here is some pictures of it: Closeup of keycaps

Day 1

I connected the keyboard to my Trisquel PC and suddenly realized that there is no built-in settings for a keyboard like this in the system. There is only a “Generic 105-key keyboard) and some other brands. I tried to find anything online regarding this keyboard and using it on Linux like inputrc configs, but so far – nothing.

Day 2

I figure that I need to write a custom .inputdrc file in order to make cool stuff of all the keys. I have already binded some keys to application specific tasks, but I would like to use my “PANIC” button that I bought extra. And I also realized that I dont have any tool for keycap removal...

PANIC

Day 3

I just adapted to the keyboard fairly quickly, and I got a little addicted to the clicking of the keys. Some of the F13 – F24 keys has been mapped to application specific tasks, such as controlling the look of the terminalemulator tilda and that works perfect. I also decide that I will move to either i3 or sway, and I realized after 3 minutes that i3 is the only option of those two because Trisquel is not using wayland. So I just followed this guide and installed i3 with gaps (that's something kids like these days).

I do wonder how I will adapt to this layout thou.

arrowkeys

Day 4

I launched i3 for the first time. And immediately started looking for a cheat sheet so I could start using it. I do liked the concept of it, and I will try to use it more and more.

I am starting to get used to the new keyboard, some keys are a little bit bigger than on normal keyboards but that's ok. My wife told me that could hear me from the other side of the apartment when I was typing – and that's not strange because this keyboard is loud, very loud.

The overall look of the keyboard is nice too, with two red buttons (ESC and a PANIC button). I do have some more keys that I want to swap out too but I lack the tools to do it.

Sadly, the Linux specific keys that I bought does not fit. So I guess I have to save that for my next Unicomp.

Day 5

Well, I've been using this keyboard for 5 days now and I do not regret it that I had to pay $105+$25+$79+$20+$40 (keyboard, keycaps, shipping, PostNord fee, import tax). It is actually one of the most expensive things I personally own (except for the car).

The typing experience is great! The noise it does is addicting/awesome and I really LOVE the retro look, especially the white color that was standard when I was a kid.

Also, to you that like it – here is video with some typing noises. Enjoy!

For those who would like to buy the real Model M,

You can check out Unicomps website, I used the Keyboard configuration tool to get mine in a Swedish layout (you have to pick Swedish Finnish).

In the last couple of month, I have not been able to sync my pretty huge library in Nextcloud due to a bug that is being ignored in the Nextcloud client. But I still need to sync my files – what to do?

It has been a source of frustration to not be able to sync down my files during this fall, so I started to look at other solutions instead, like DavFS2. With DavFS2 you can mount your Nextcloud account like you mount a HDD/SSD ora USB memory – simple!

First of all, you need to install the davfs2 package, on debian derivatives such as Ubuntu, MXLinux or PureOS:

sudo apt-get install davfs2

On RHEL/CentOS:

sudo yum install davfs2

On Fedora:

sudo dnf install davfs2

On SuSE:

sudo zypper install davfs2

Next, we want to modify the /etc/fstab file so the Nextcloud account will be mounted at boot, just modify the command provided to match your own setup:

echo "https://cloud.operationtulip.com/remote.php/webdav/ /mnt/nextcloud davfs _netdev,noauto,user,uid=USER,gid=GROUP 0 0" >> /etc/fstab

Also, I do strongly assume that you do not want to enter your login everytime you boot.

echo "/mnt/nextcloud NEXTCLOUDUSER NEXTCLOUDPASSWORD" >> /etc/davfs2/sercets

Let's finish this with adding your user into the davfs2 group

sudo usermod -a -G davfs2 USERNAME

Now, you should be able to mount it:

mount /mnt/nextcloud

Optional – encrypt transparently with gocryptfs

First, install the gocryptfs package:

sudo apt-get install gocryptfs

On RHEL/CentOS:

sudo yum install gocryptfs

On Fedora:

sudo dnf install gocryptfs

On SuSE:

`sudo zypper install gocryptfs

In this case, we are just going to create a catalogue in the homecatalogue, add is as a “plain” catalogue where the files is going to be shown decrypted for you and mount it against /mnt/nextcloud – so the files is going to be stored encrypted.

    mkdir -p ~/nextcloud_encrypted
    gocryptfs -init /mnt/nextcloud
    gocryptfs /mnt/nextcloud nextcloud_encrypted

Now, you can create a file in ~/nextcloud_encrypted, and it will show up as encrypted in the /mnt/nextcloud catalogue.

Happy sharing!

ok, here it goes: the obligatory post that everyone writes in the beginning of a new year.

2019 was a year of progress for Linux.Pizza and growth, it has been fun to curate for the small “platform” and the userbase residing here.

2020 is here, and I'll try to summarize what we hope to achieve during this year:

  • Build are more robust infrastructure: This is something that we started with last summer with OperationTulip (basically a hosted Nextcloud provider) and we will continue to do so during this year. I (Jonathan) is a part of the OperationTulip team and have contributed with alot of time and hardware into the project, so it is only fair that Linux.Pizza can reside in that environment too!

  • Get more supporters: One of the blockers of many project is money and that is mostly storage and fees for domain names and such. We have been able to mitigate a big chunk of expenses by hosting our own authorive DNS-environment and getting a room in an already existing email server. As I mentioned in the 2019 recap we have gotten donation that have been covering the cost of operation for month – and we are not able to show enough gratitude for the generosity of the people that has donated to Linux.Pizza – Thank you!!

  • Spread the word about the Librehosters: Linux.Pizza is a part of the Librehosters – a loose community of people and organizations that hosts and provide ethical and libre services for public use. We would really like to see it grow and more projects that joins the community

  • Participate in real-life events: Altough I can't attend events like FOSDEM this year, we do hope that we can join the FOSS NORTH event this spring together with the team from OperationTulip. And who knows, we may have stickers for you then? ;)

  • Linux.Pizza staff: Currently, when I am basically the sole admin of Linux.Pizza. Sure, my wife has full access to the services and will act if something would happend to me, but that's about it. So if you want to help out, or know someone that wants to help out – just contact me on Mastodon or Matrix (@j:matrix.linux.pizza).

Well, there is goes. Have a great day everybody!

2019 has been a great year for Linux.Pizza, we have seen hundreds of new users on our Mastodon-instance, thousands of visitors on our trashmail service and hundreds of thousand of machines using our mirror

but sadly, due to lack of time and money, I have been forced to close down a few service like Pleroma, Social relay, & Invidious.

Linux.Pizza is one of many providers in the librehost network – everyone aims to offer ethical services that focus on privacy and fairness. 2019 has been a year of growth for the network and Linux.Pizza is not excluded.

Linux.Pizza was able to achieve the following:

2020 is approaching rapidly, and Linux.Pizza is ready! If you have any suggestions of services that you would like to see, please let us know! We are always exploring ways extend our list of services that is beneficial to our users!

In your haproxy.cfg, you should do this:

global
    log /dev/log local0 notice
    user haproxy
    group haproxy
    stats socket /var/run/haproxy.sock mode 660 level admin
defaults
    log global
    retries 2
    timeout connect 3000
    timeout server 5000
    timeout client 5000
listen galera
    bind /var/run/mysqld/mysqld.sock mode 666
    option mysql-check user HAPROXY
    balance first
    server galera1 192.168.20.21:3306 check maxconn 64
    server galera2 192.168.20.22:3306 check maxconn 64
    server galera3 192.168.20.23:3306 check maxconn 64

And why do I listen on a socket? That is because an application will assume that mysql/mariadb are listening on a socket when you specify “localhost” by default.