As a MTA lover, I always try to encourage people (especially “IT-people”) to host their own mailserver. Mostly so they actually can learn something and also that I do not like how the big providers like Google, Microsoft, Amazon etc keep eating up the market.
Diversity is a key to a healthy market – but that is another topic.
This guide will mostly apply to Debian-based distros like Debian (9 or newer), Ubuntu (16.04 or newer) or any other “serverdistro”. I do assume that you already have a working mailserver that do both deliver and receive emails that are DKIM signed (or atleast perform validation with OpenDKIM), otherwhise you can read my short guide here (coming soon).
First, install OpenDMARC from the repository.
apt update
apt install opendmarc -y
Verify that the user and group opendmarc has been created by checking /etc/passwd and /etc/group. Otherwhise, create them.
When you have installed it, verify the installation by running this:
opendmarc -V
You will get something like this (the version number is not that important yet):
opendmarc: OpenDMARC Filter v1.3.2
    SMFI_VERSION 0x1000001
    libmilter version 1.0.1
    Active code options:
    WITH_SPF
    WITH_SPF2
Great! Let's proceed to configuring opendmarc
First, take a backup of the current opendmarc.conf, it will save some headache in the future if you want to redo it:
cp /etc/opendmarc.conf /etc/opendmarc.conf.BAK
Edit /etc/opendmarc.conf with the following:
AuthservID [SERVERHOSTNAME]
FailureReports true
PidFile /var/run/opendmarc.pid
RejectFailures false
SPFSelfValidate yes
Socket inet:8893@localhost
SoftwareHeader true
Syslog true
SyslogFacility mail
TrustedAuthservIDs [SERVERHOSTNAME]
HistoryFile /var/run/opendmarc/opendmarc.dat
UMask 0002
UserID opendmarc
Dont forget to restart opendmarc
service opendmarc restart
Proceed with adding opendmarc as a milter in postfix. I am assuming that you already have opendkim enabled as a milter like this:
smtpd_milters = inet:localhost:8891
non_smtpd_milters = inet:localhost:8891
We now need to add the opendmarc milter into the postfix configuration, it is important that you add it AFTER the opendkim milter, otherwhise opendmarc will not be able to check if the DKIM key is valid.
smtpd_milters = inet:localhost:8891,inet:localhost:8893
non_smtpd_milters = inet:localhost:8891,inet:localhost:8893
milter_default_action = accept
The last one is pretty important, so if one of your milters does not work for some reason – Postfix will still let it throu.
Restart postfix
service postfix restart
We should now be able to test the configuration by sending an email from example a gmail.com account to an email address on your email-server and check your logs if opendmarc actually works.
tail -f /var/log/mail.log | grep "opendmarc"
You should be able to see this:
Apr 26 12:16:38 mx opendmarc[31490]: 5155751C32: SPF(mailfrom): dmarctest@linux.pizza pass
Apr 26 12:16:39 mx opendmarc[31490]: 5155751C32: linux.pizza pass
Great! Your server does now validate DMARC policies! If you just wanted this basic functionality, you are done now.
But there is always room for improvement!
Adding a Public-suffix list
This can be achieved in the following simple steps:
Create a catalogue (and change ownership) for the list to be downloaded to:
mkdir -p /etc/opendmarc/
chown opendmarc: /etc/opendmarc
Set up a cronjob to download the suffix list once a week
crontab -u opendmarc -e
And this line:
@weekly/usr/bin/wget -k -q -N -P /etc/opendmarc https://publicsuffix.org/list/effective_tld_names.dat
Also, just download the list so you have it before you configure opendmarc to use it:
wget -k -q -N -P /etc/opendmarc https://publicsuffix.org/list/effective_tld_names.dat
Finally, configure opendmarc to actually use that list, put this on the bottom in /etc/opendmarc.conf and restart opendmarc
PublicSuffixList /etc/opendmarc/effective_tld_names.dat
service opendmarc restart
Awesome! You are now done with the OpenDMARC.
Next up – adding DMARC reporting, this will be in an upcoming post.
#postfix #dmarc #opendmarc #smtp #email #linux
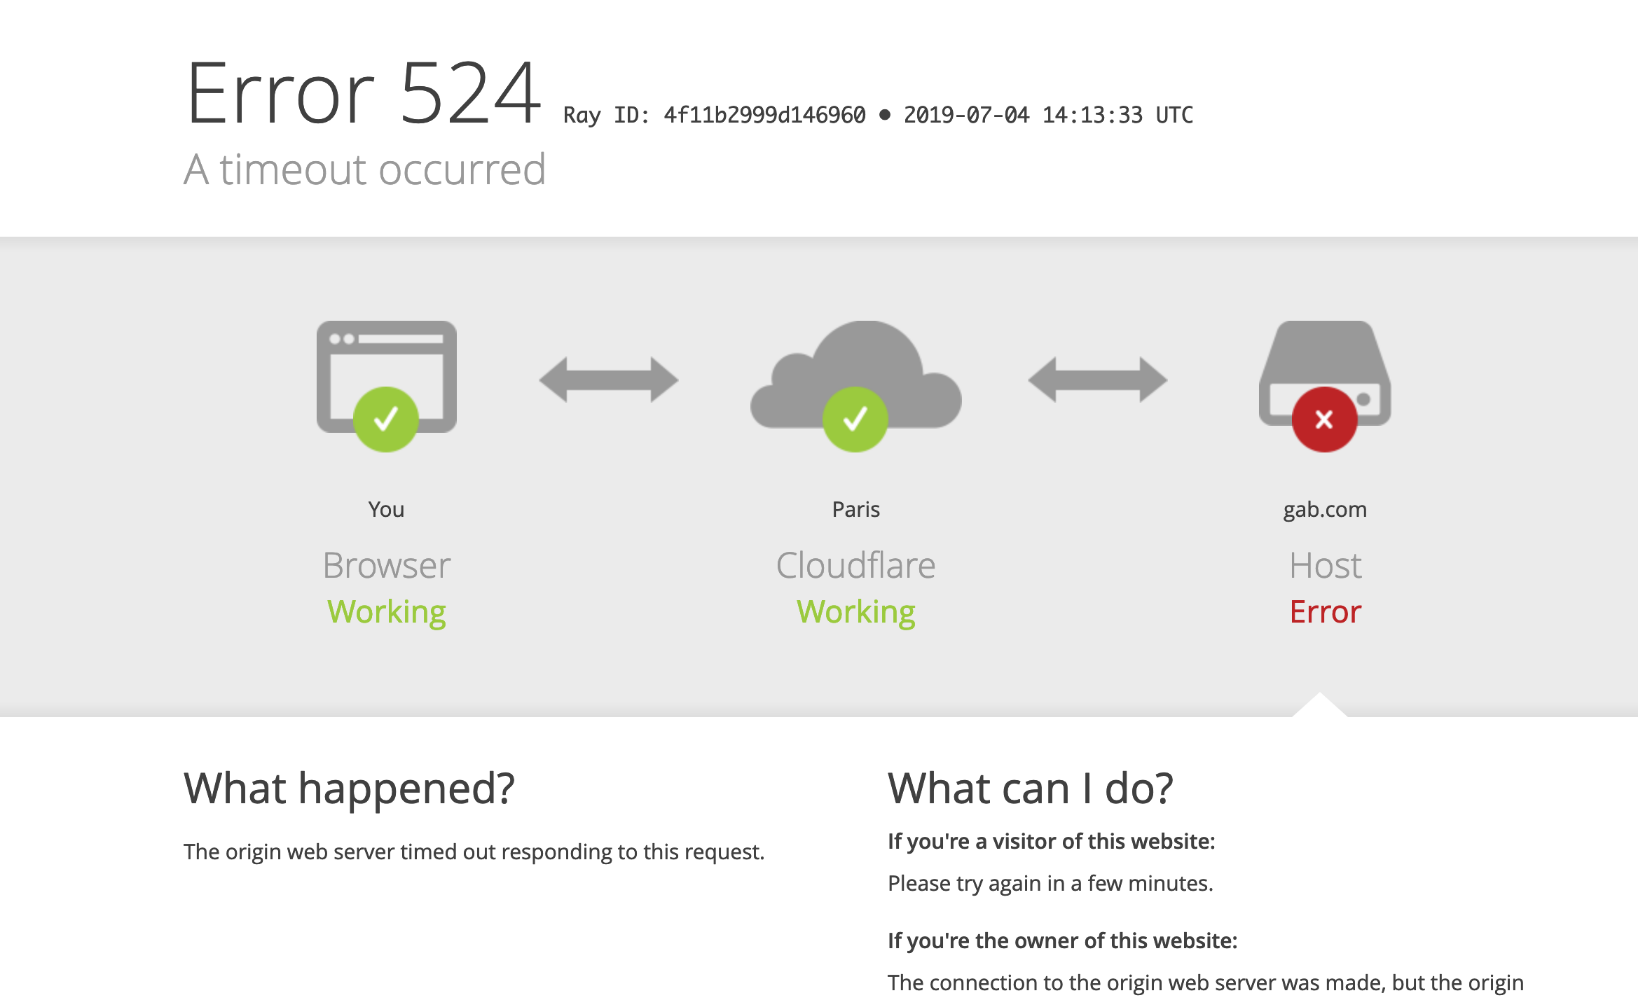
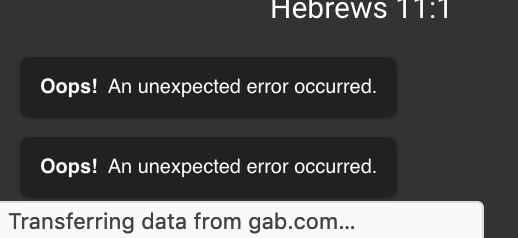
 No it was'nt. People hated it and complained everywhere over the extremely bad performance and the unreliable service. I enjoyed the show, it was great because it means that gab is loosing money when the deploy did not work well.
 gab also uses cloudflare


 This was presented to me withing the first minute.
 So much for the All are welcome slogan.
 logo was crafted toghether by my wife
